Shopify
The PayLater plugin offers merchants the ability to integrate "Buy Now, Pay Later" (BNPL) functionality into their Shopify stores, providing customers with flexible payment options. This comprehensive guide will walk you through the step-by-step installation and configuration process for seamless integration.
Manual Step
Step 1: Setup PayLater as a Manual Payment Method
- Go to your Shopify Admin (ex. [yourstore.com].myshopify.com/admin) and click on Settings in the left-hand navigation panel
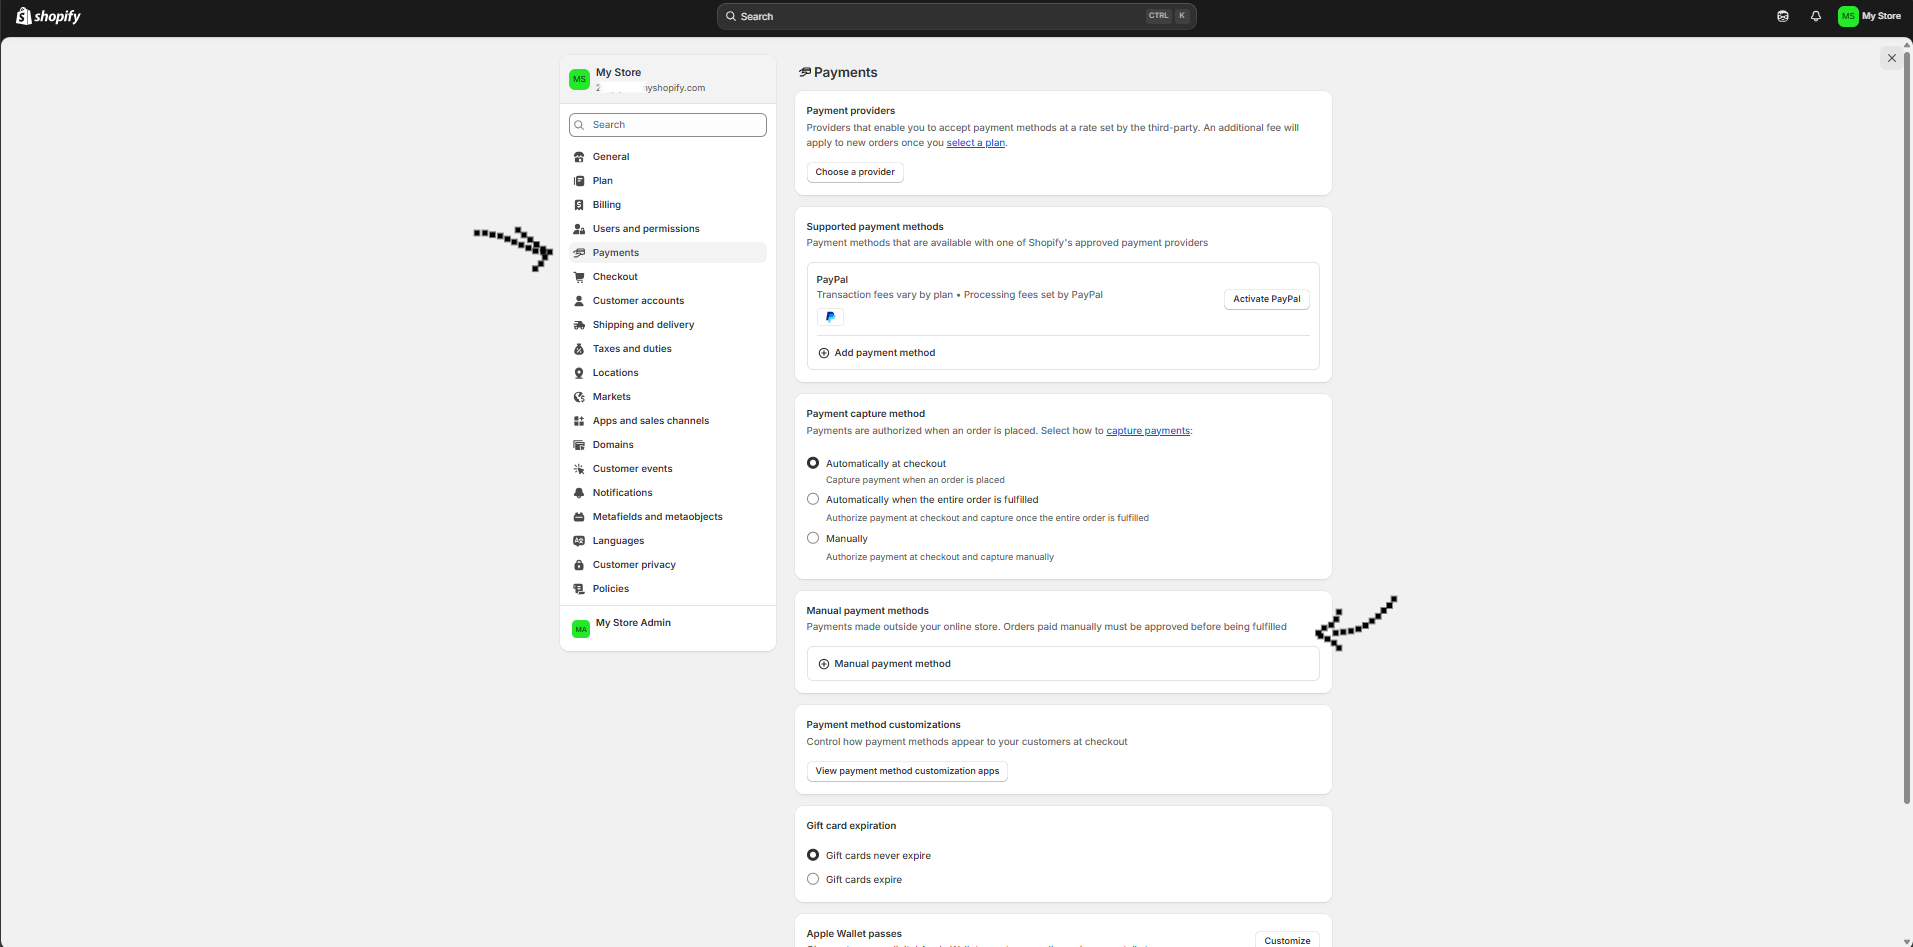
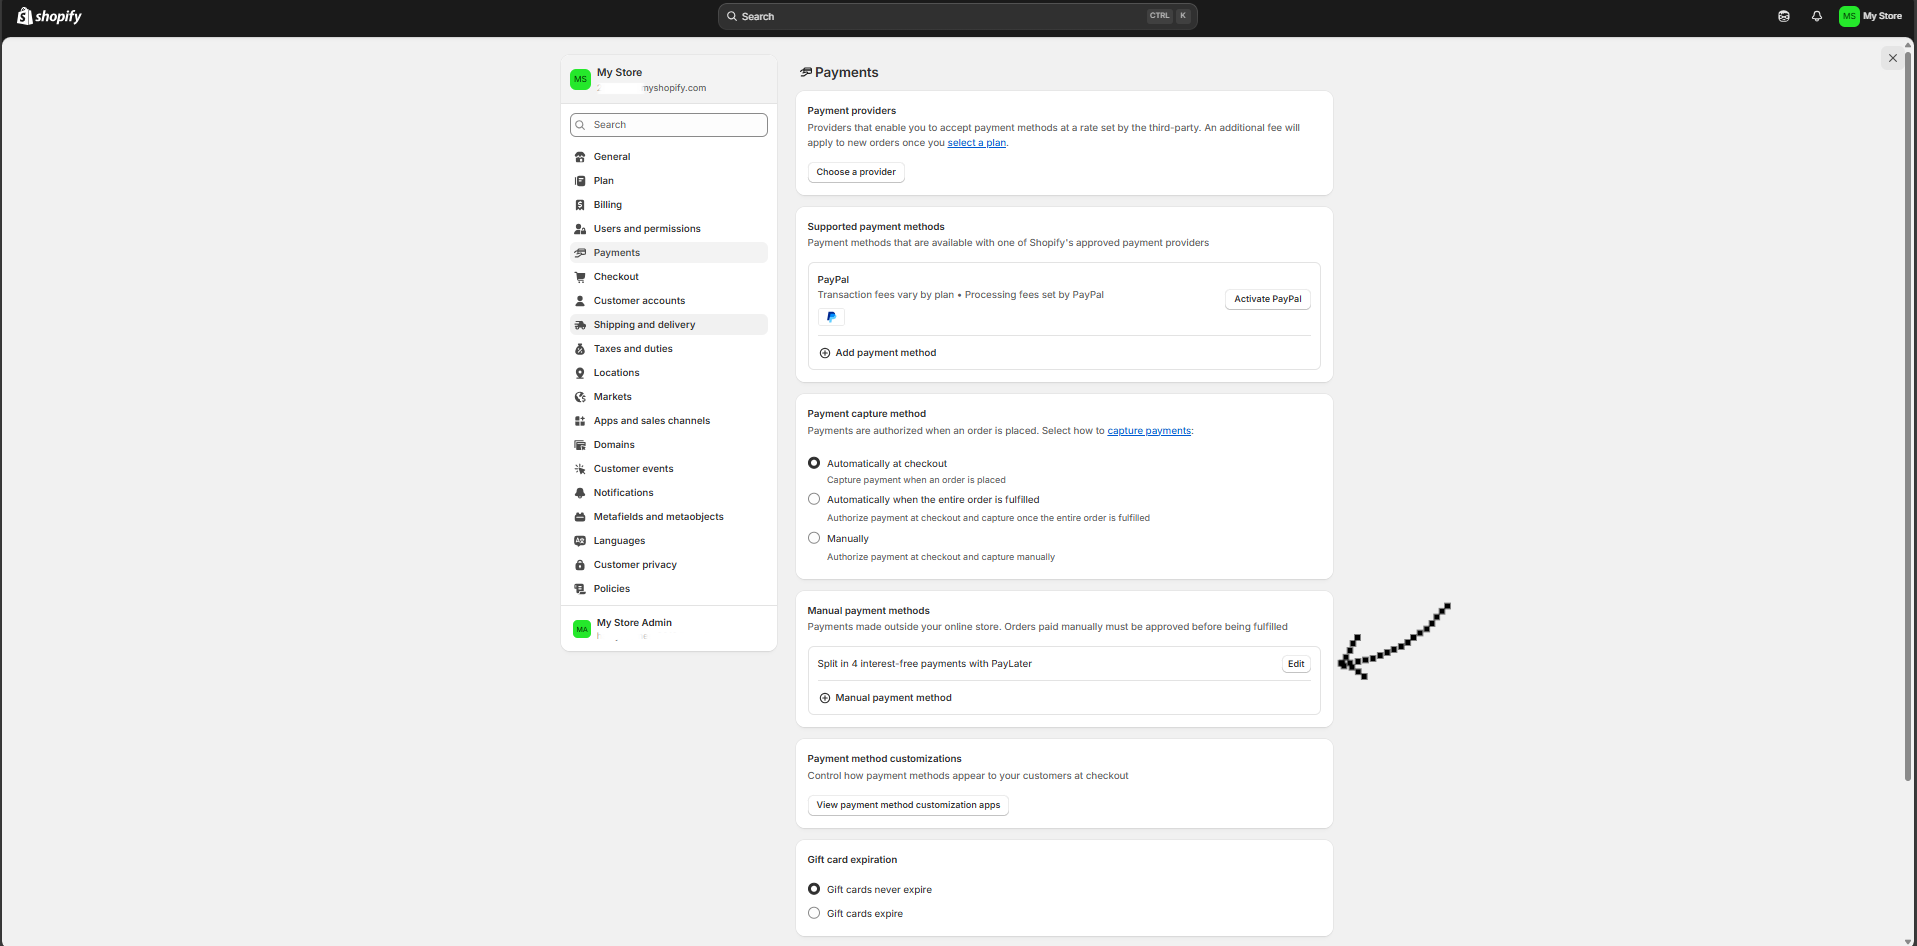
- Click on the “Payment Menu” from left menu & scroll down to the “Manual payment methods” section.
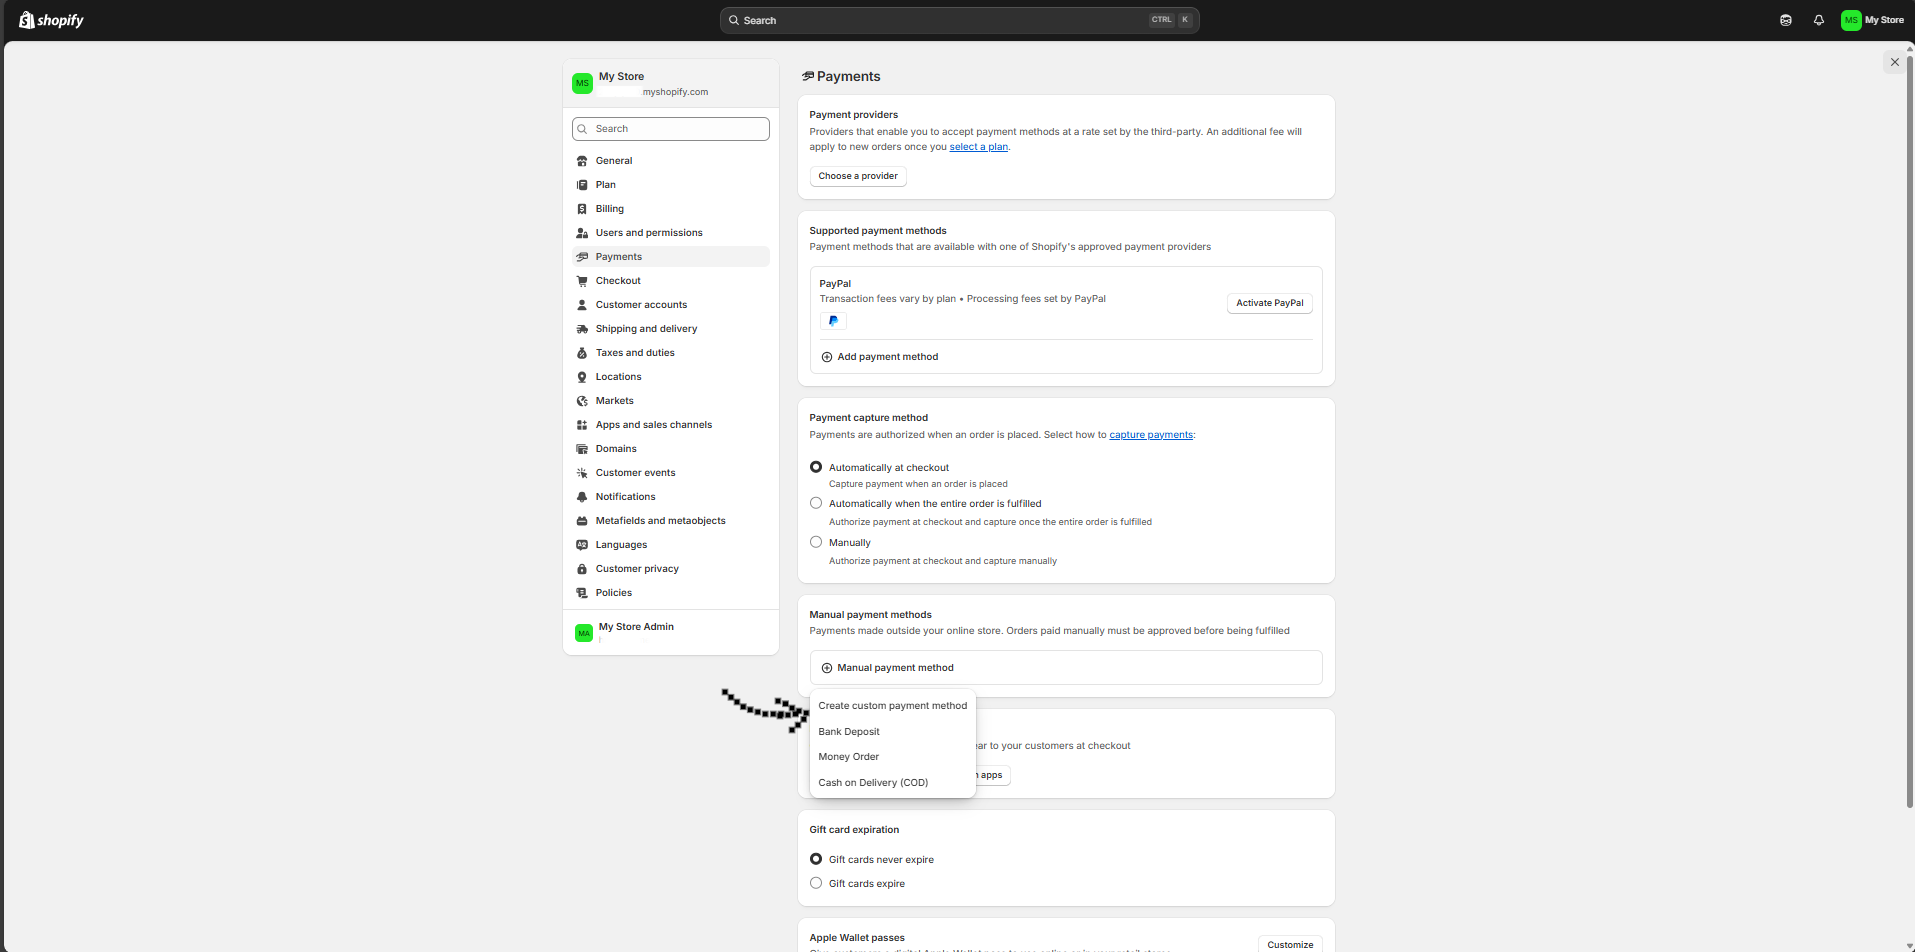
- In this section, click on the dropdown labeled “Manual payment methods” and select "Create custom payment method"
- In the “Set up manual payment form”, copy/paste the details as shown below in the appropriate field (NOTE: You can write according to your checkout design):
- (Custom payment method name) Split in 4 interest-free payments with PayLater
- (Additional Details) PayLater allows you to split your purchase into 4 interest-free installments.
- (Payment Instructions) You'll receive an email with a secure link from PayLater to complete your payment.
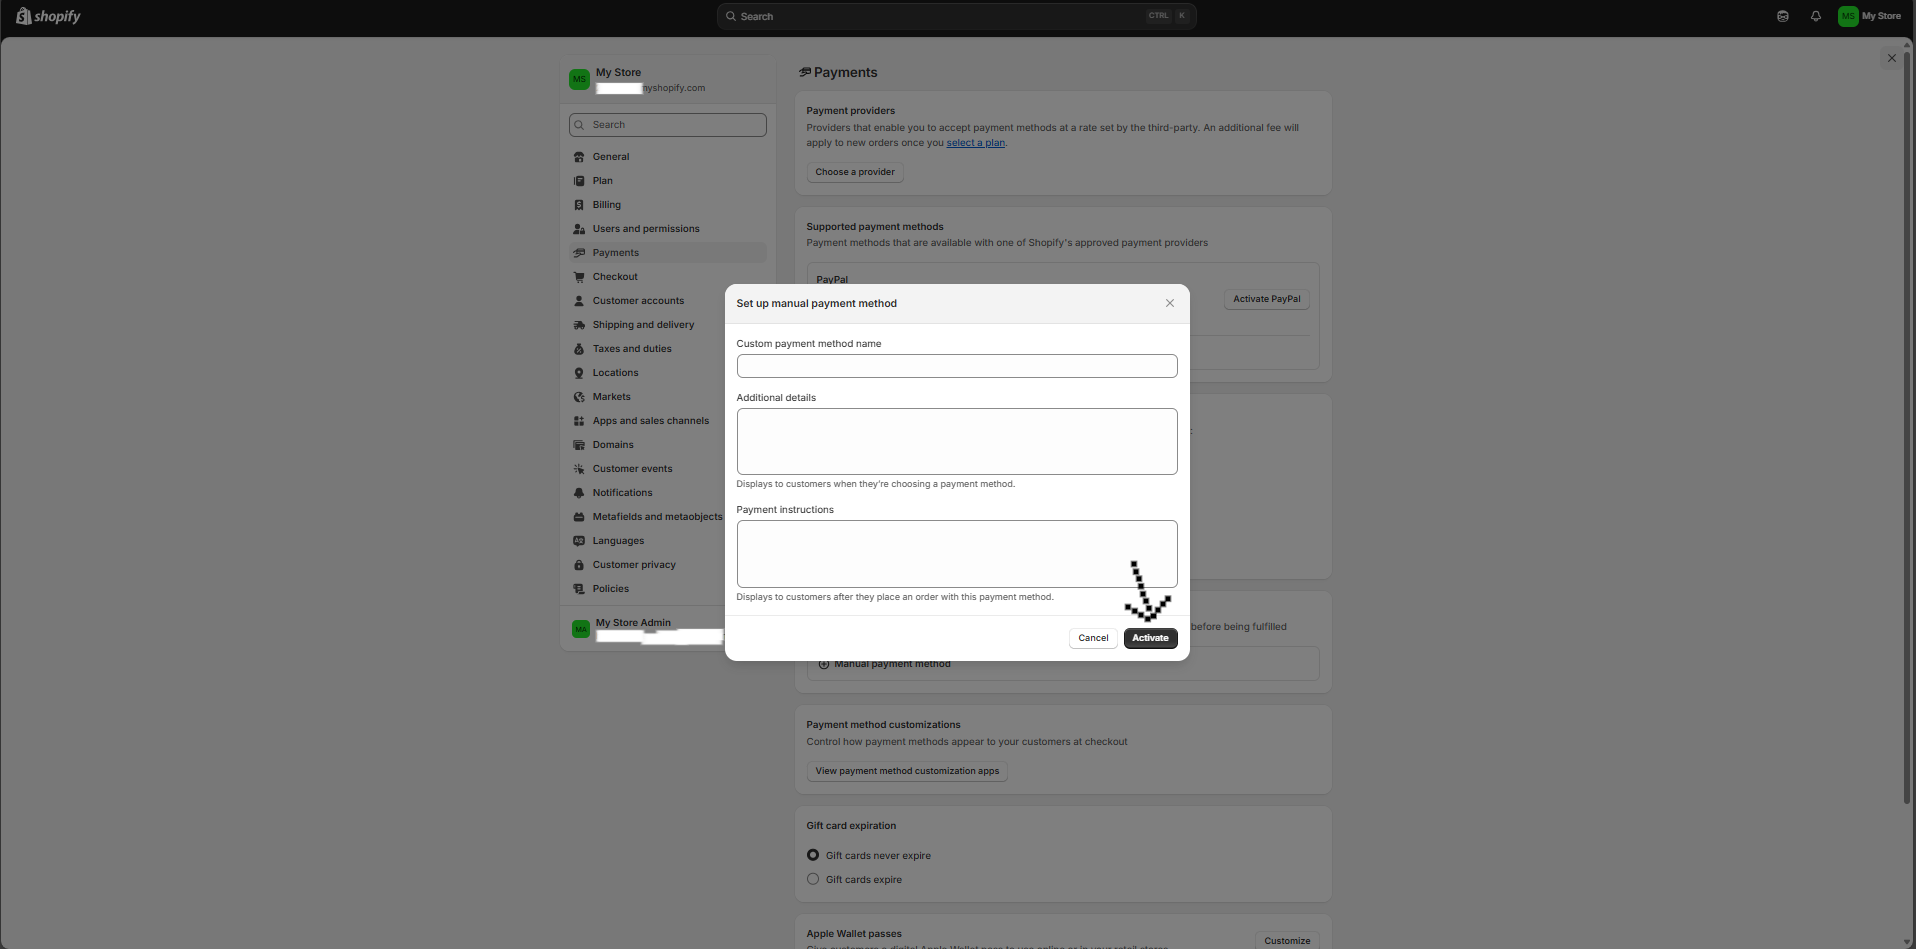
- Click on the "Activate" button to save your work. You will see “Split in 4 interest-free payments with PayLater“ appear under the Manual Payment Methods.
Step 2: Setting Webhook
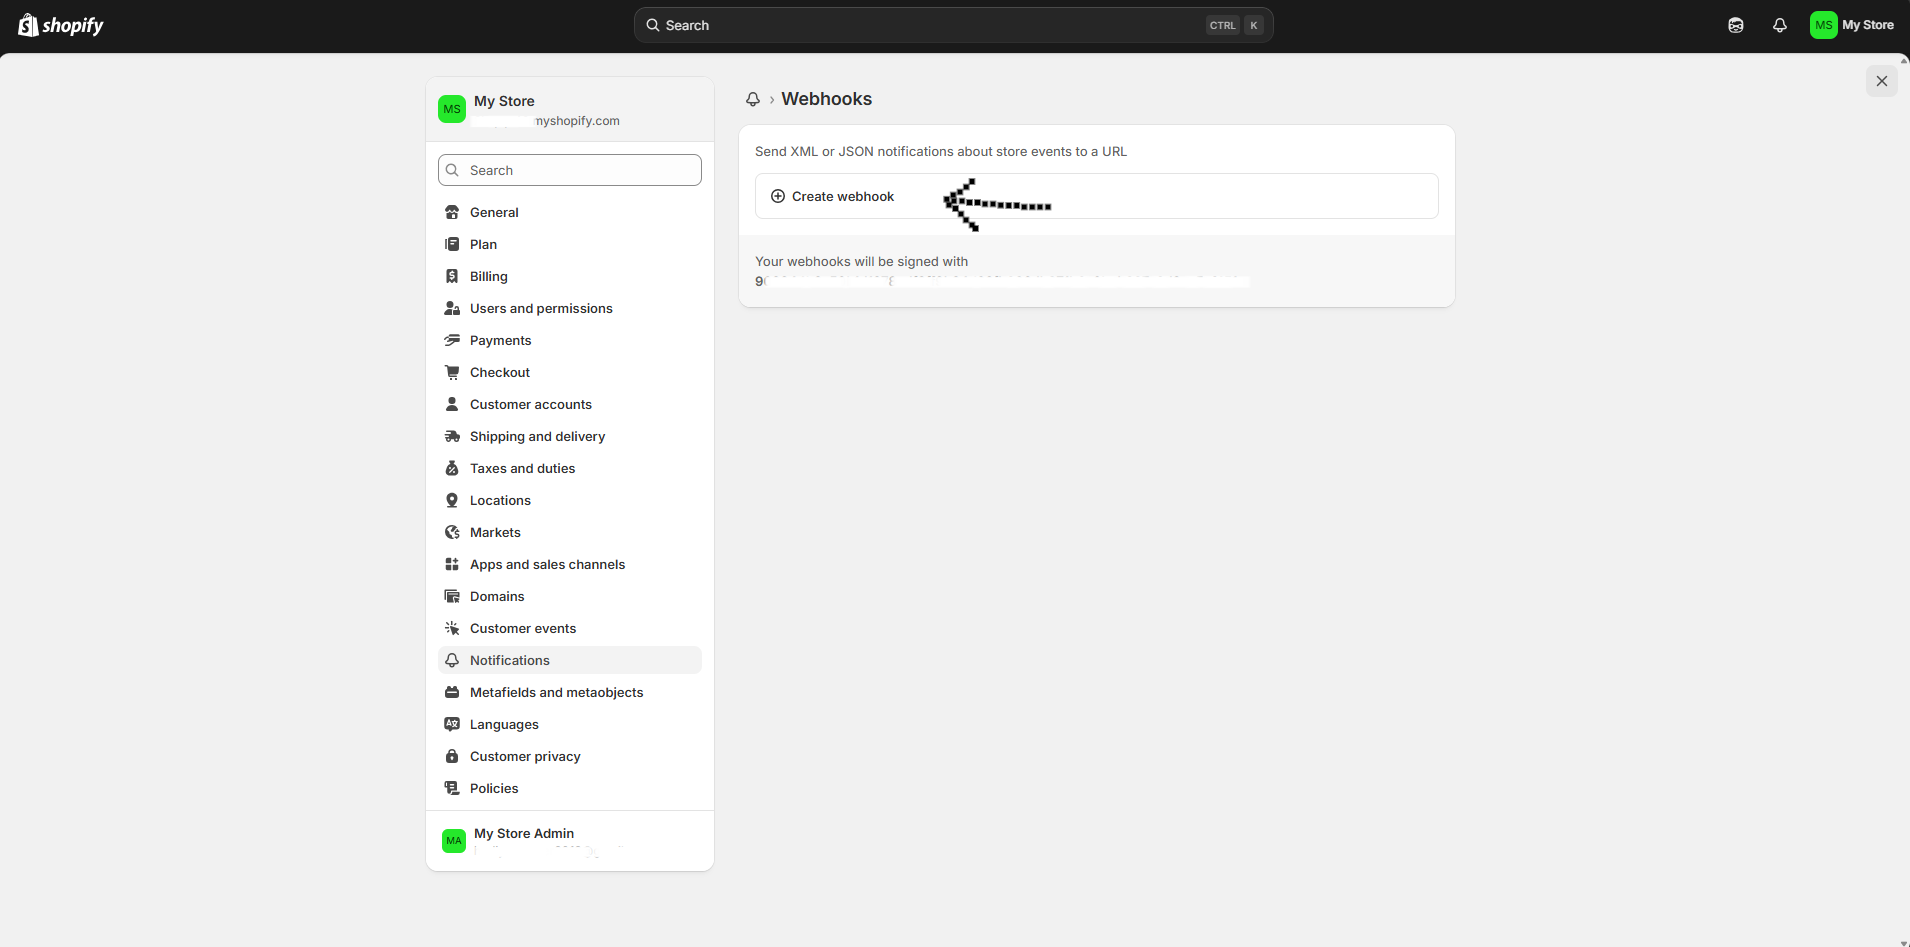
- In Settings, go to “Notifications“ in the left menu and then click on the Webhooks.

- Now click “Create webhook”
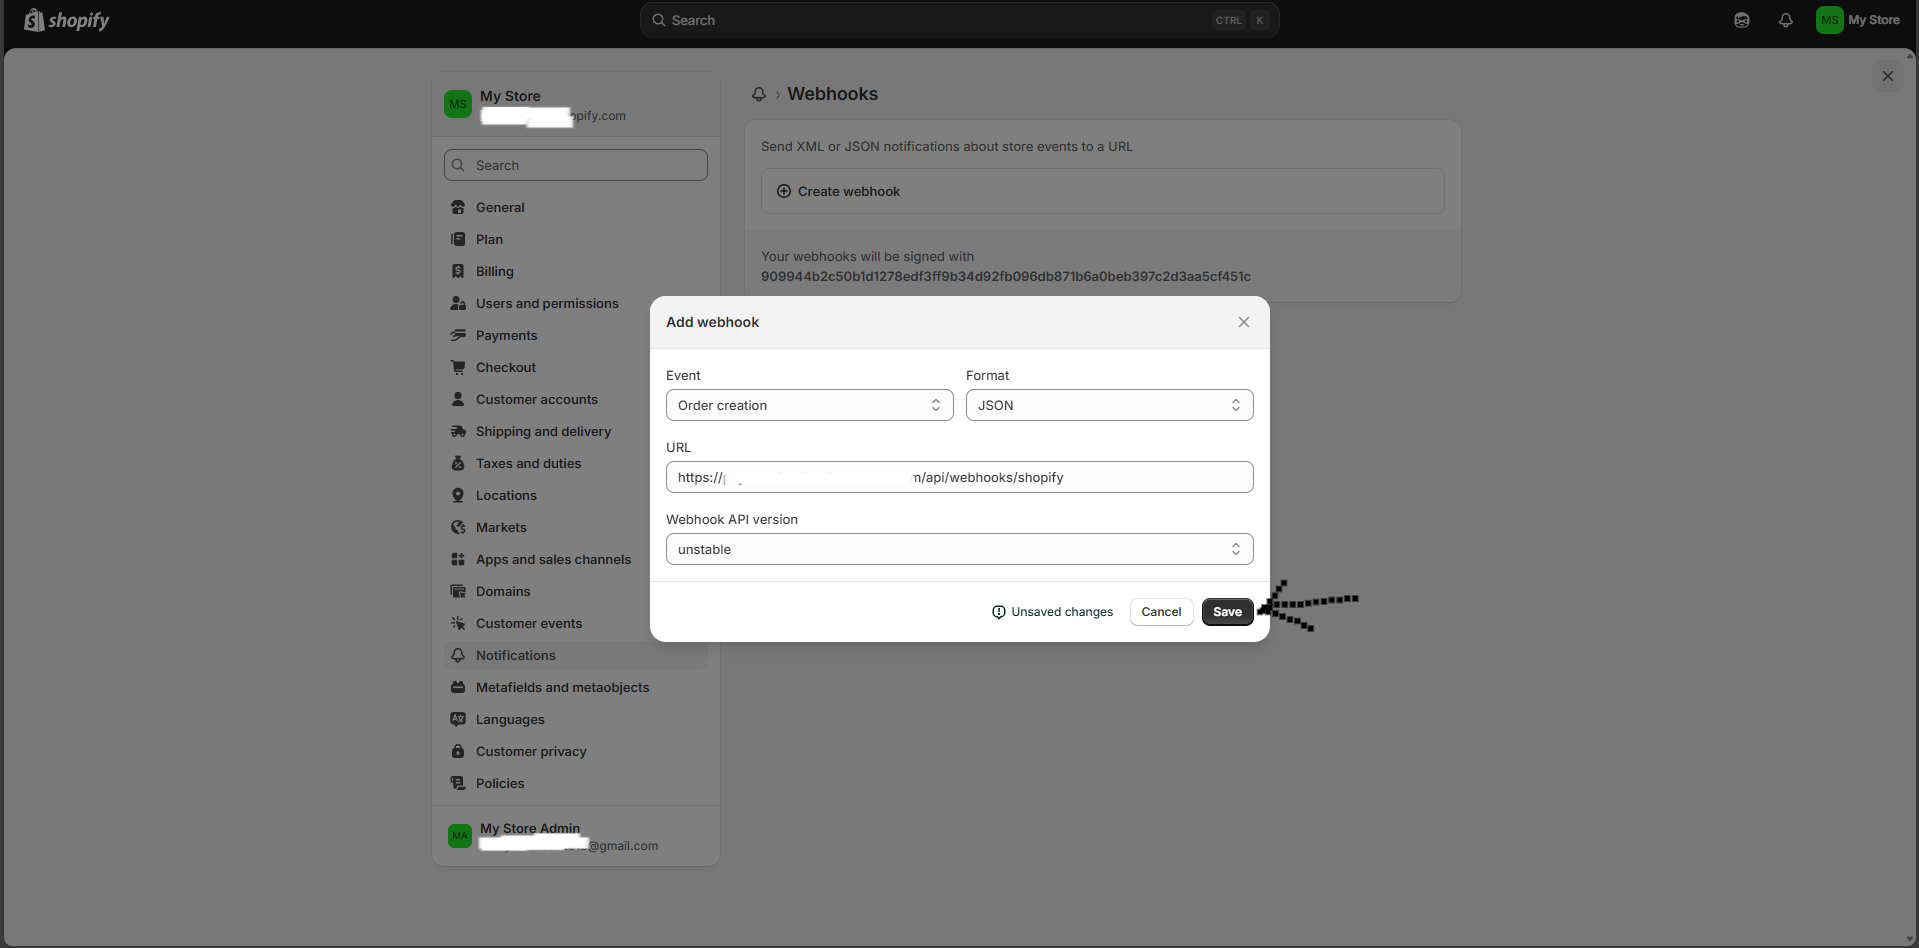
- In the “Add webhook” form, copy/paste the details as shown below in the appropriate field and click on Save
- Event (Order Creation)
- Format (JSON)
- URL (https://shopify.paylaterapp.com/api/webhooks/shopify)
- Webhook API version (Unstable)
Step 3: Linking Shopify to PayLater Backend App
- In Settings, go to “Apps and sales channel“ in the left menu and then click on the Develop apps button on the top.
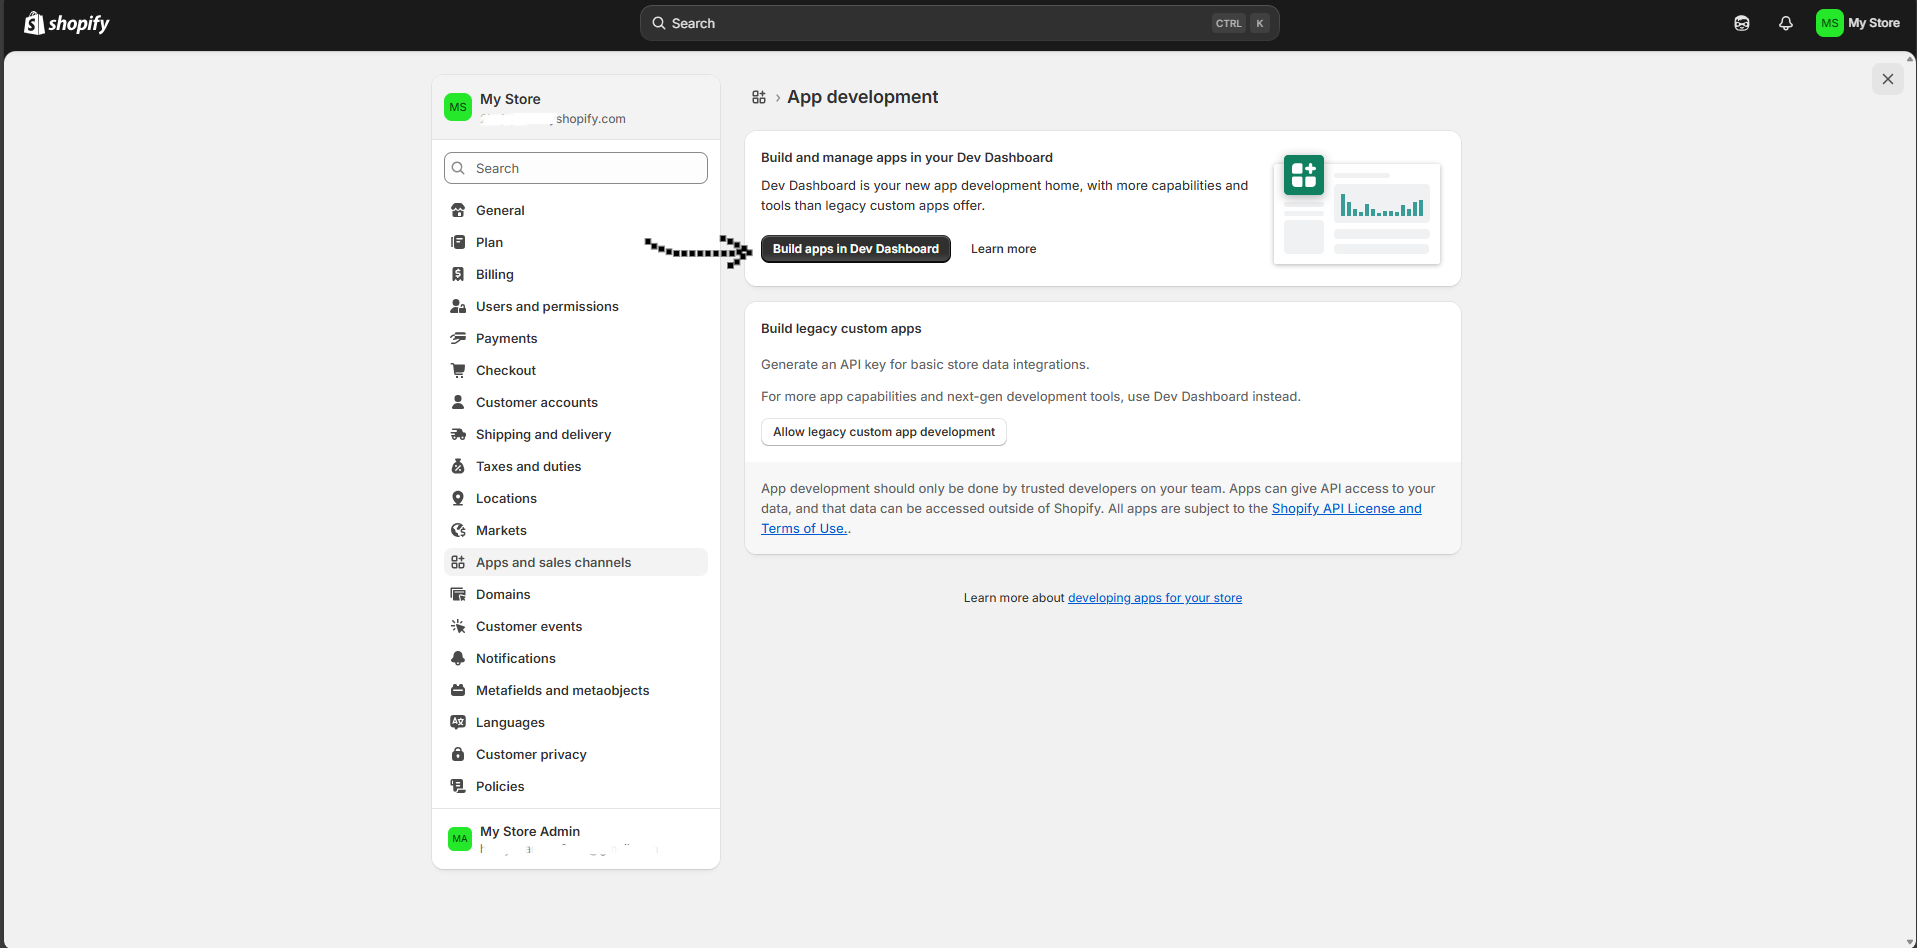
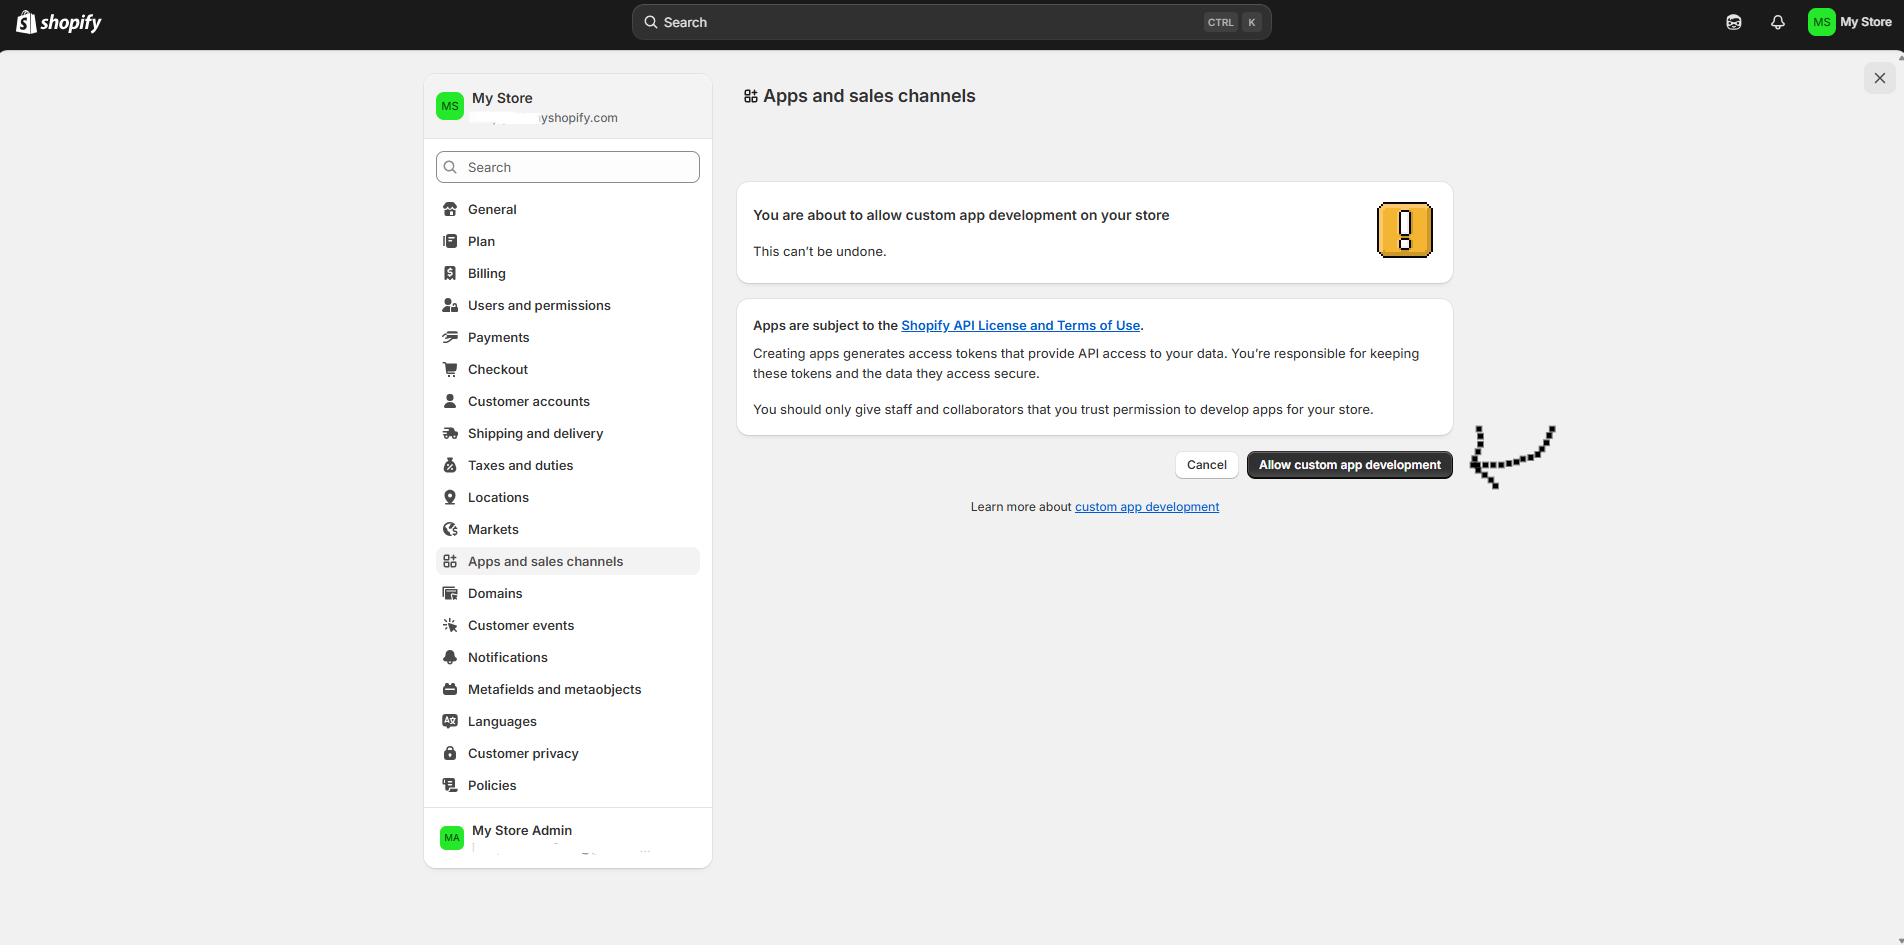

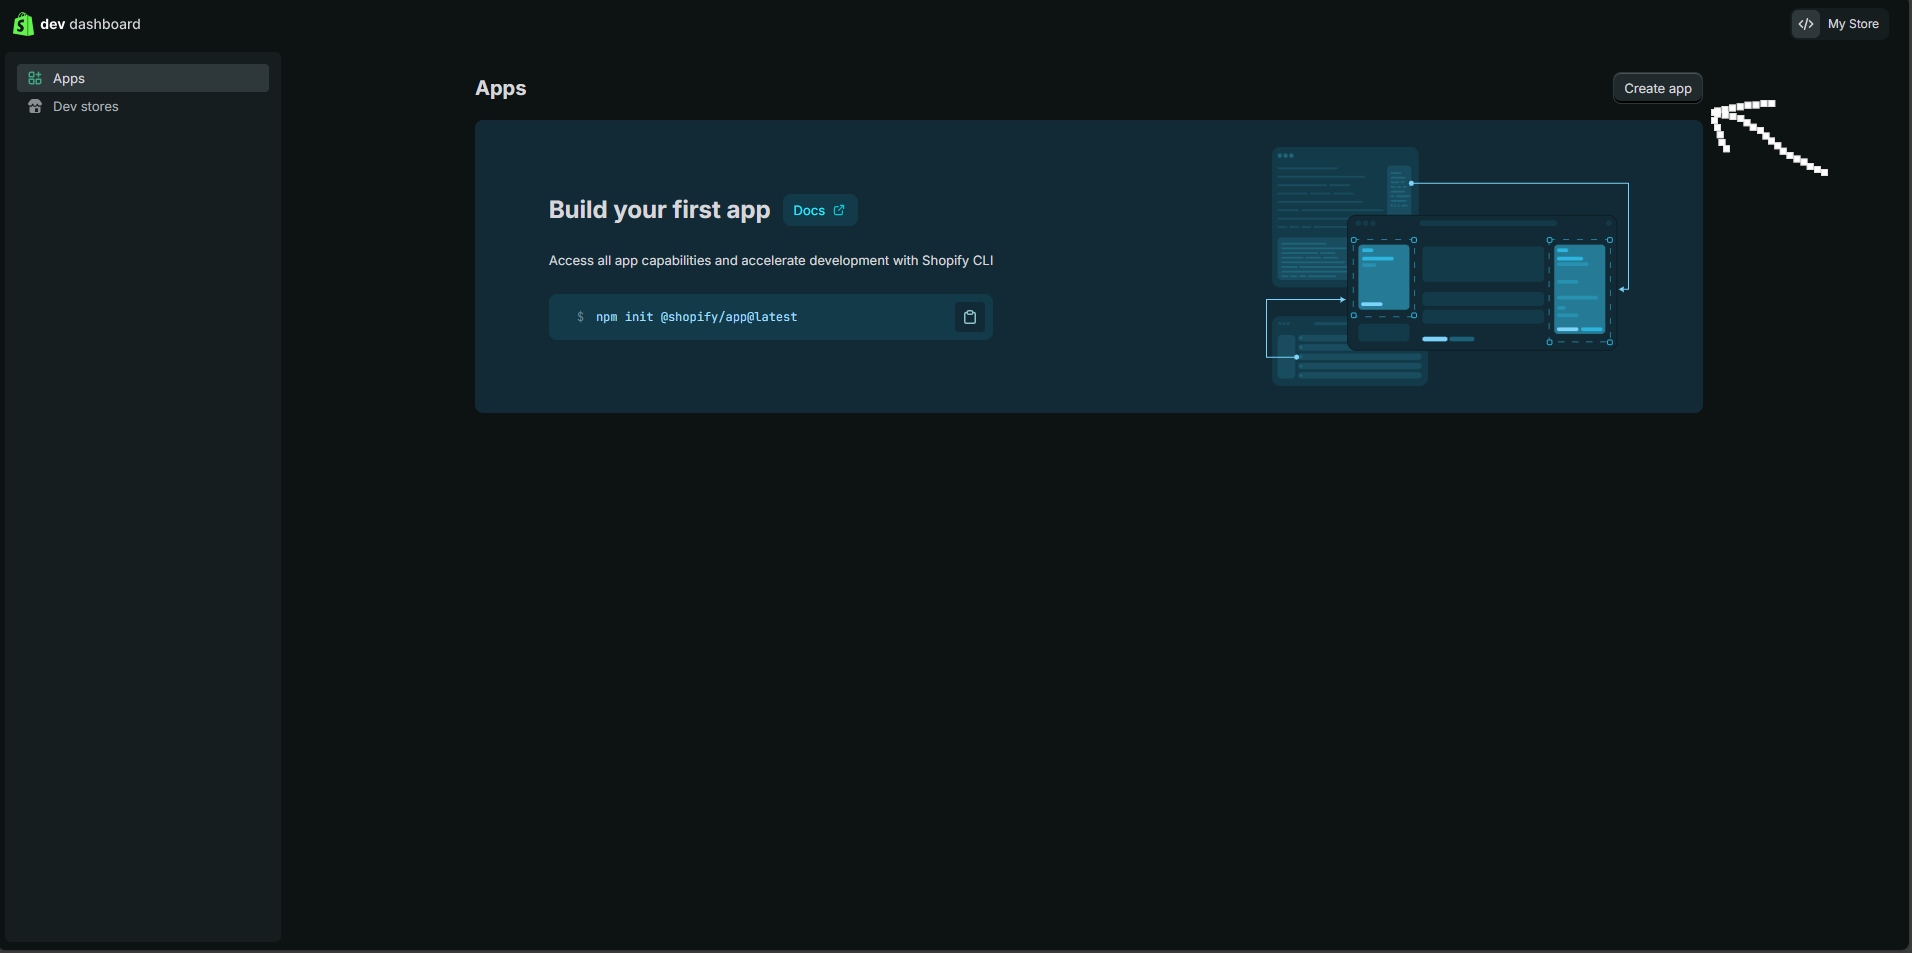
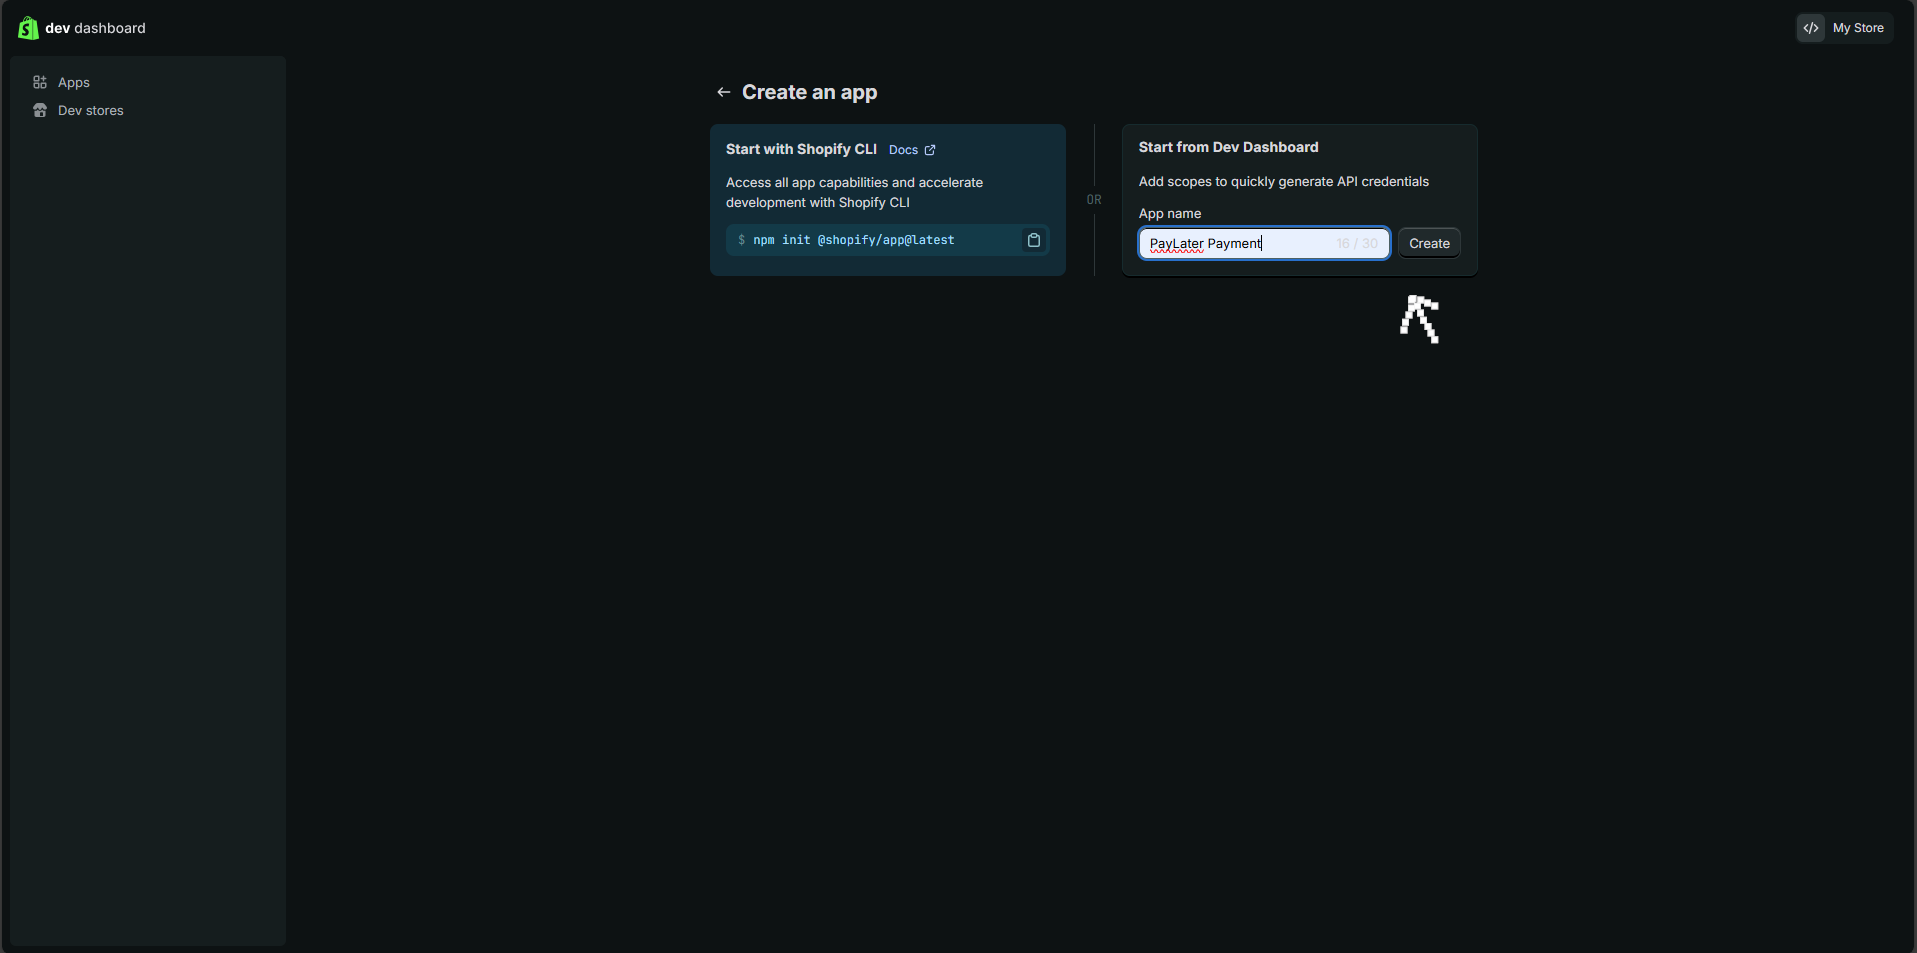
- Click on “Create an app“
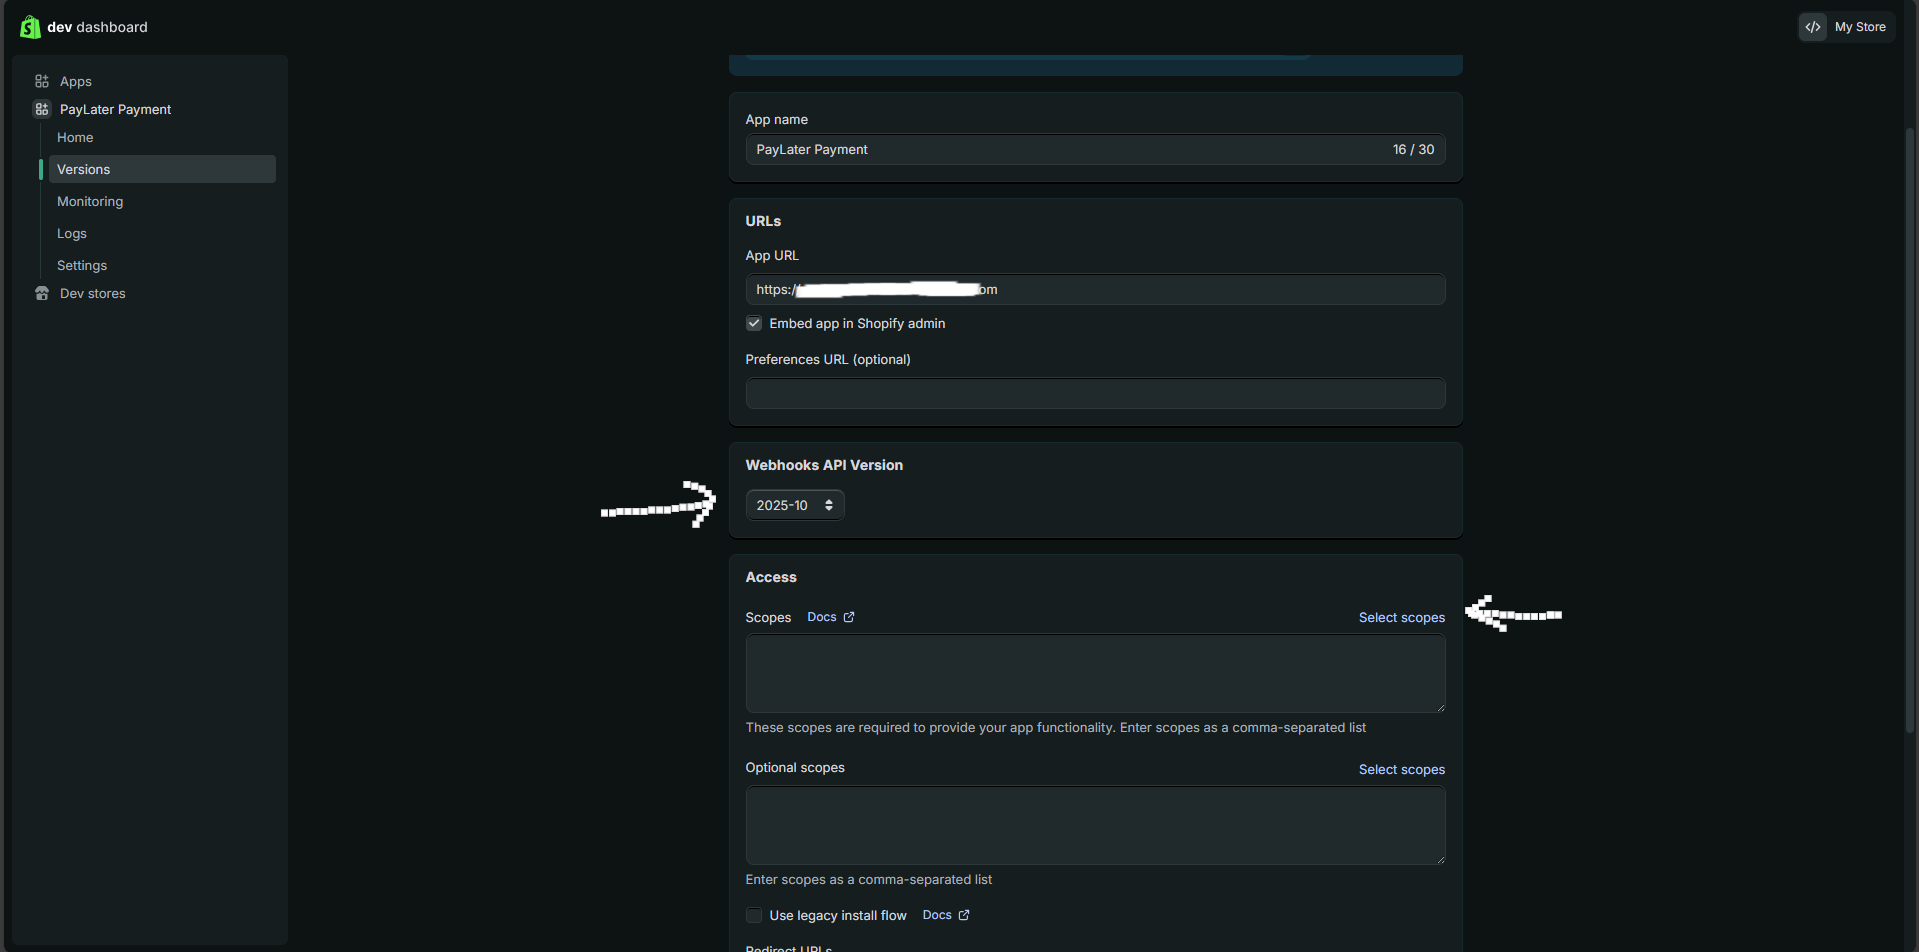
- Set “PayLater Payment” as App name
- Fill App URL form with https://shopify.paylaterapp.com/api/webhooks/shopify value
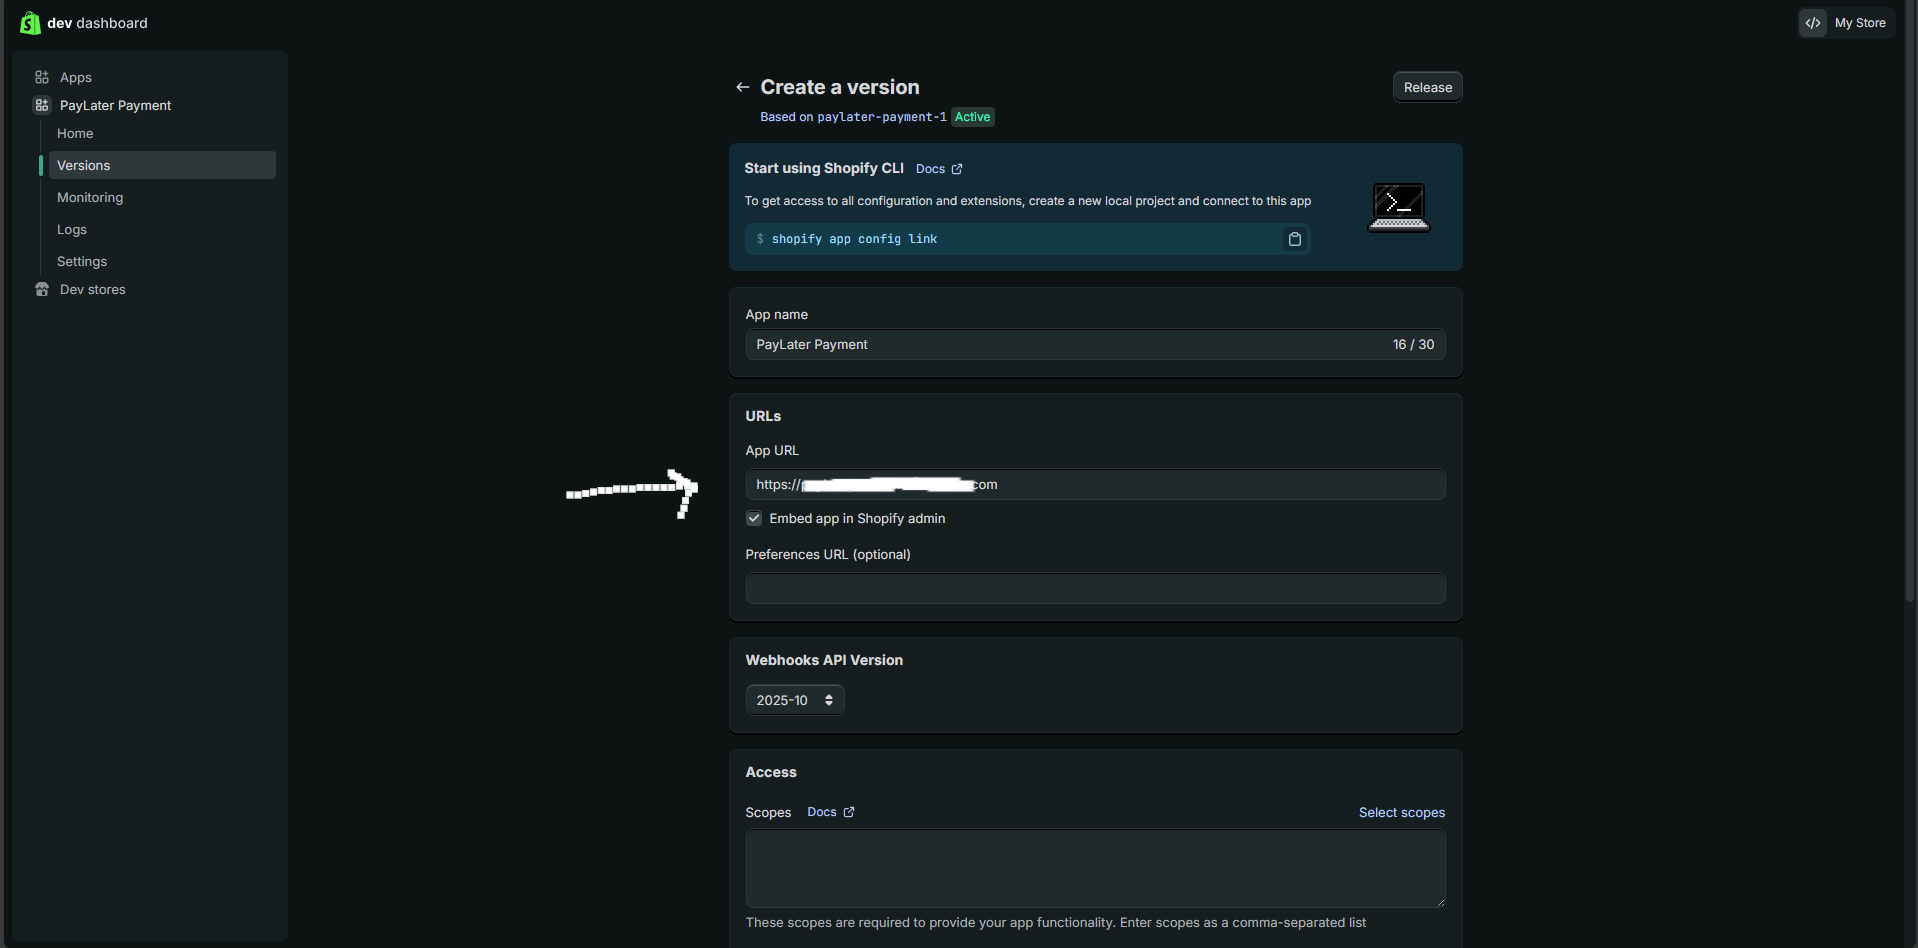
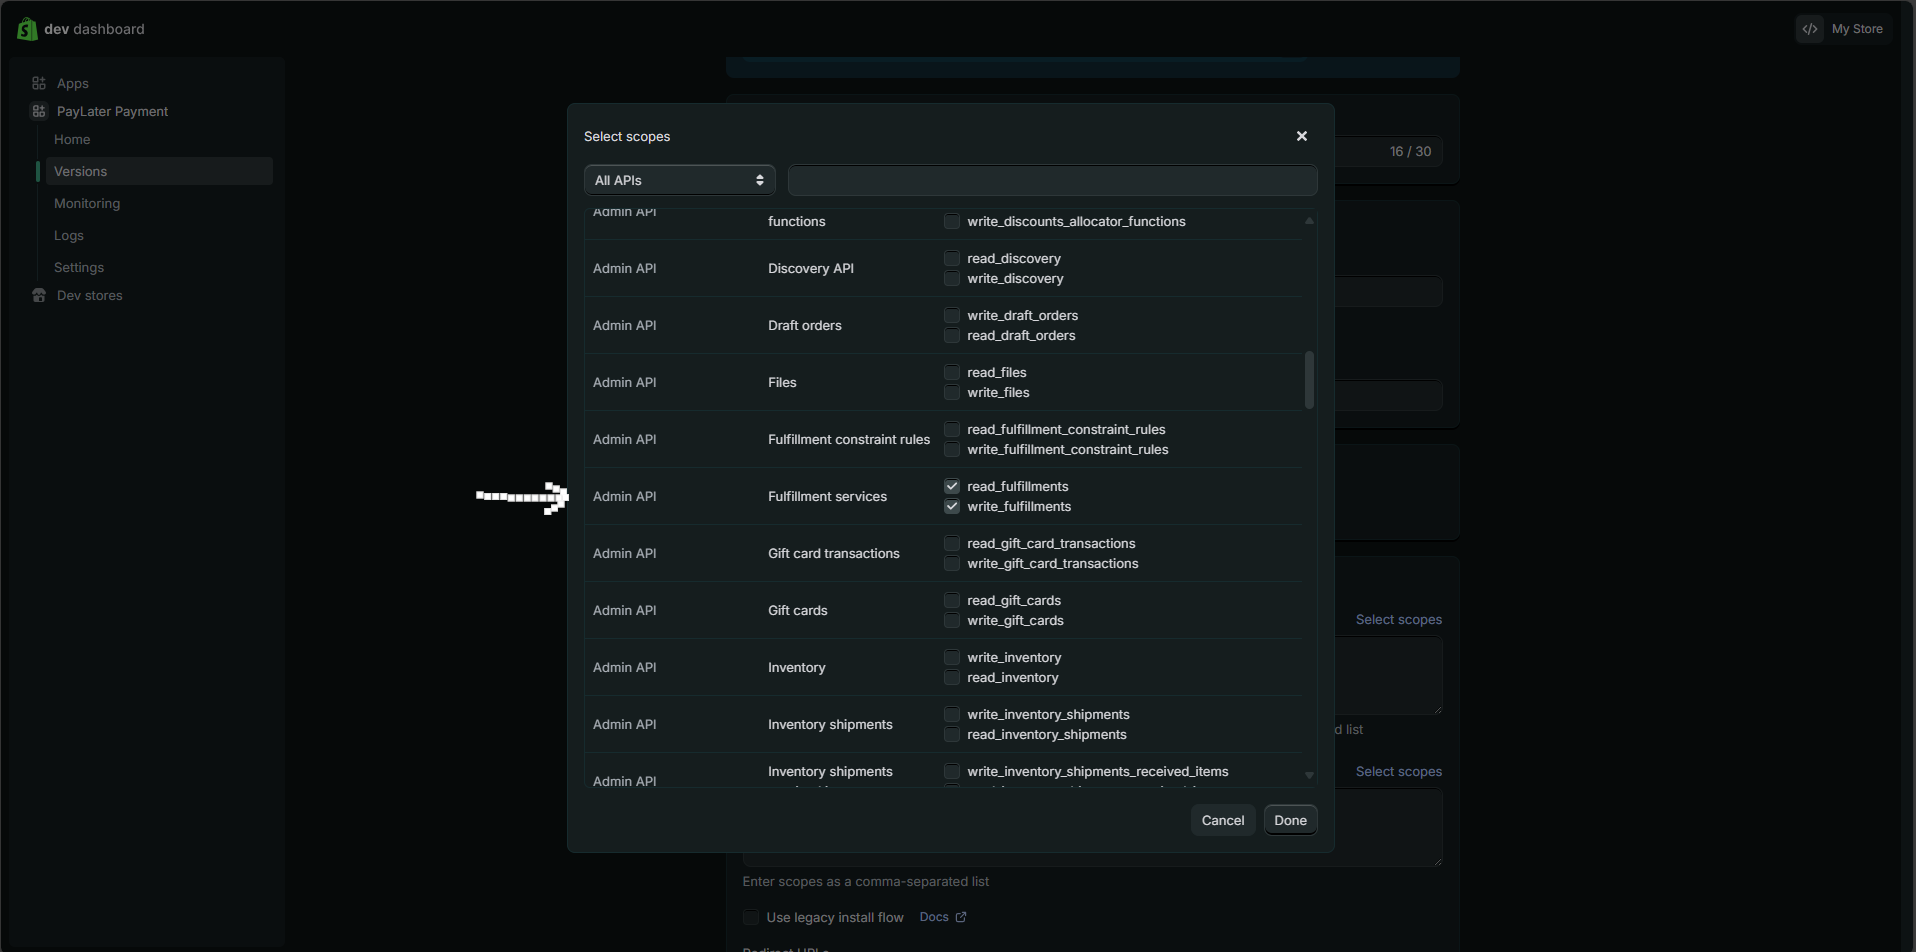
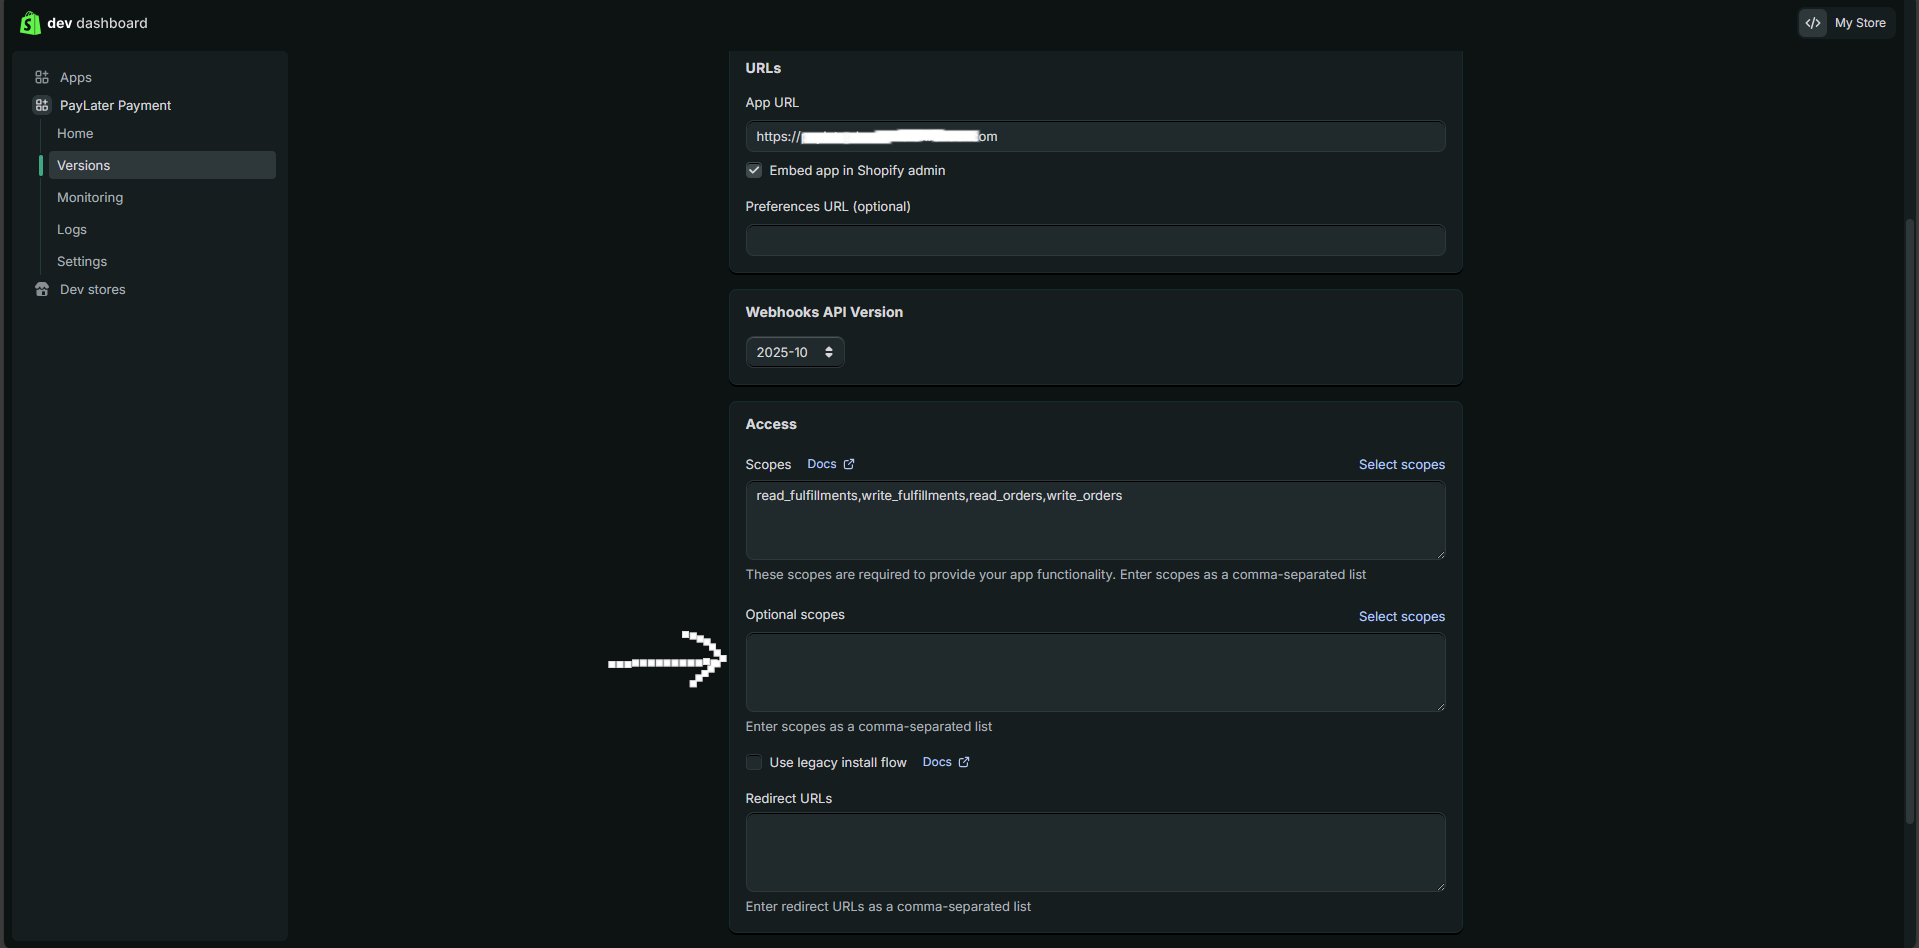
- Select below mentioned Scopes
- Orders (Read and Write)
- Fulfillment Services (Read and Write)
- Also set Redirect URLs form with https://shopify.paylaterapp.com/api/webhooks/shopify value
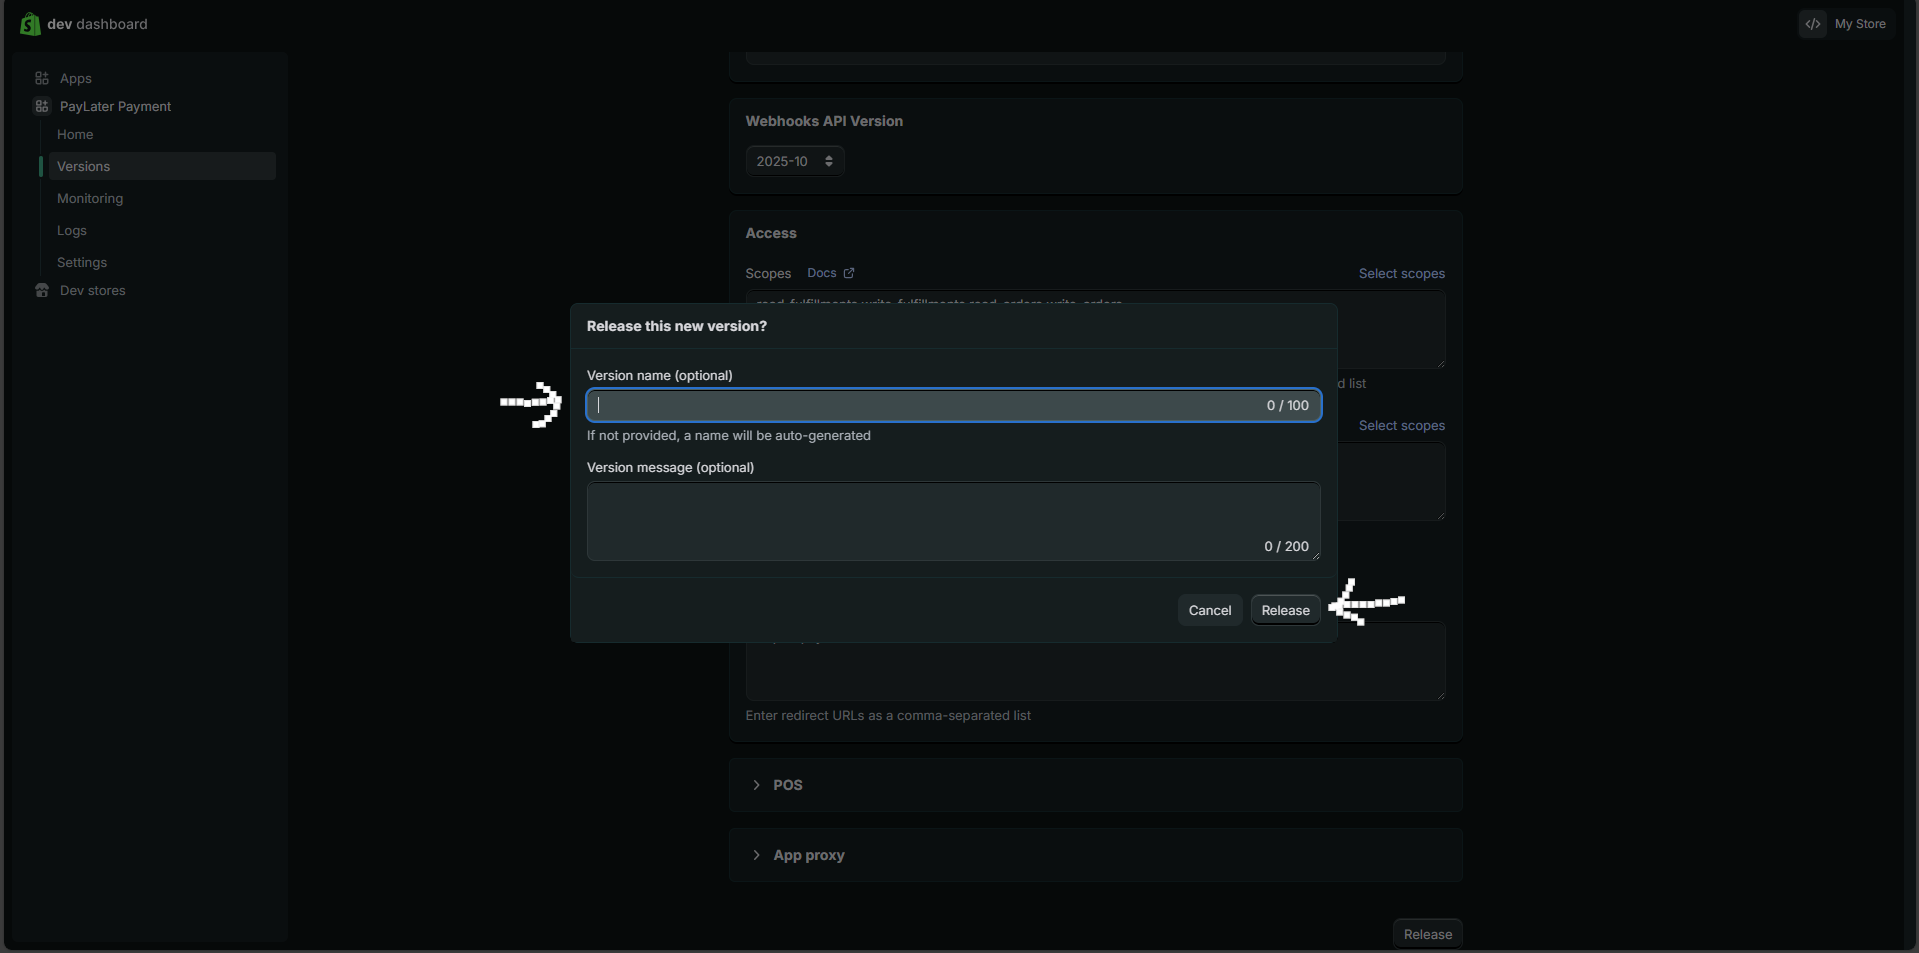
- Click “Release”
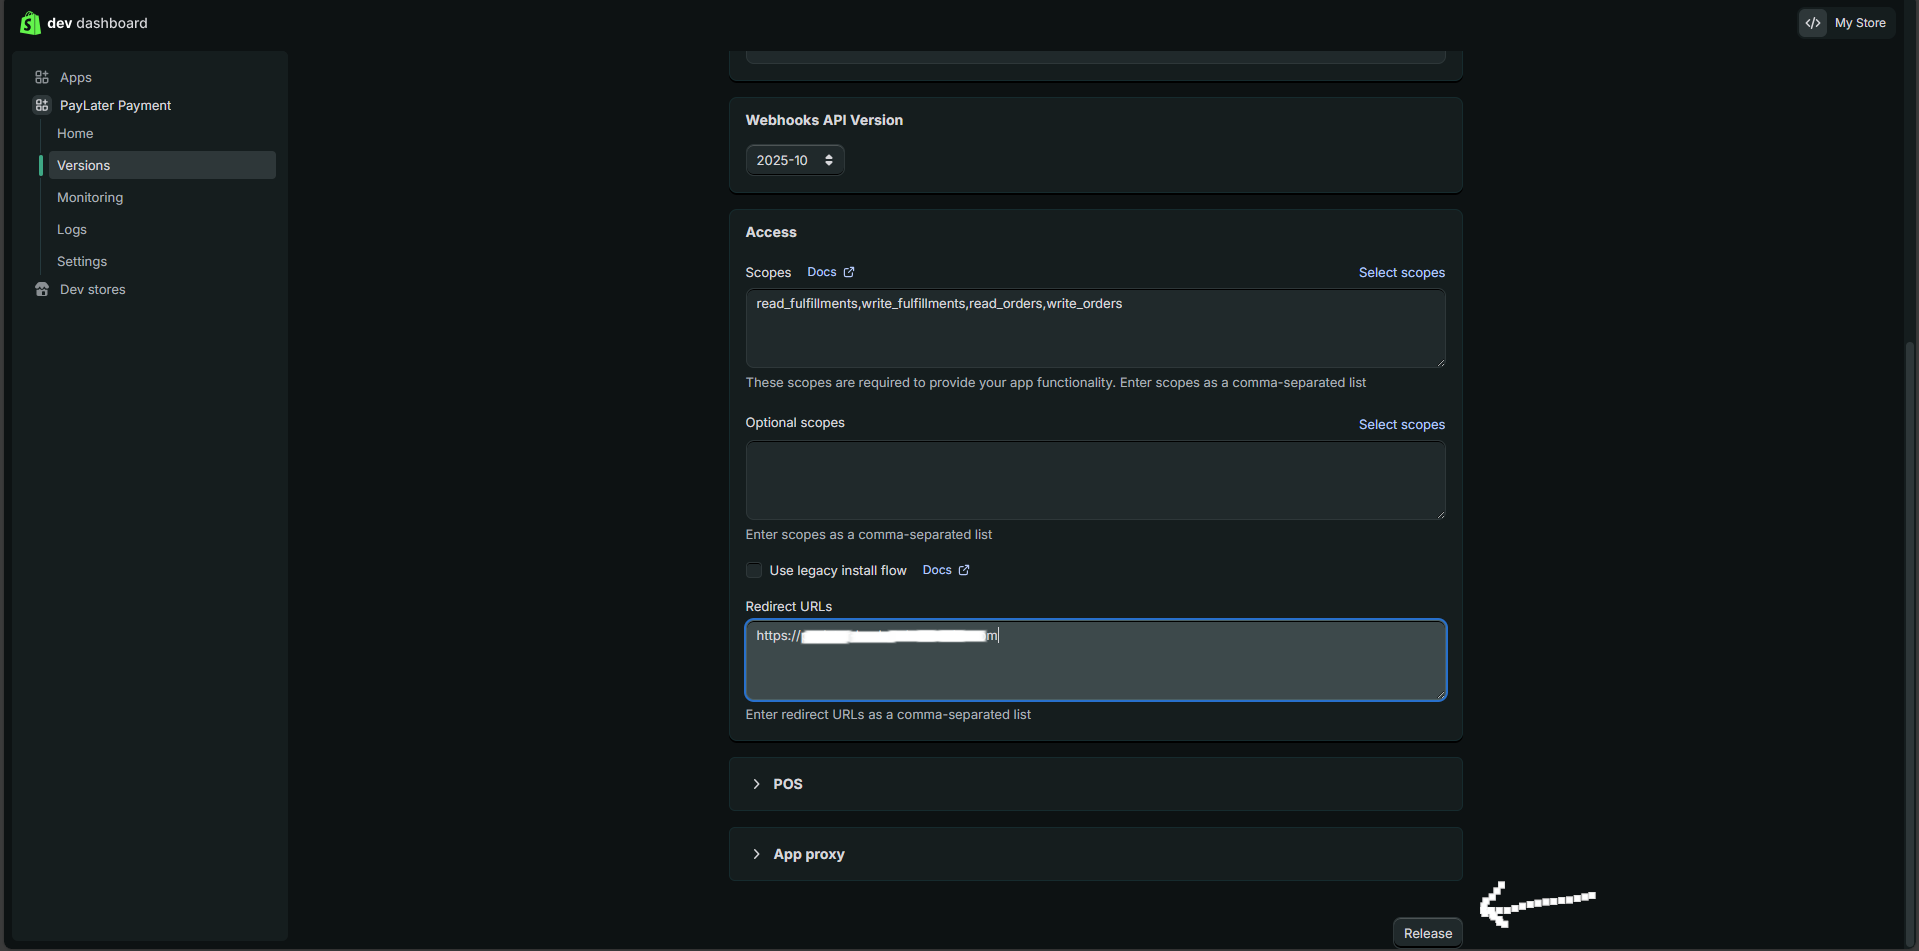
- Set Version name (optional) and then click “Release”
- Version name (optional) ⇒ v1-2025
Final Step:
- Save all the keys you receive during this all process.
- Send following keys to your account manager to activate your store for payments.
- Shop Url (myshopfy.com)
- Access Token (shpat*****************************) or Client ID
- Shopify API Secret (shpss****************************)
Note
Need sandbox credentials and a test shopper account to try the flow before going live? See the Test environment.