Odoo
Empower your Odoo online store with the PayLater Odoo Plugin, a cutting-edge solution designed to enhance the purchasing journey for both merchants and customers. This seamlessly integrated plugin opens up a world of possibilities, allowing merchants to offer a convenient and flexible PayLater option at checkout.
Download plugin
Always install the latest version. Older releases are deprecated — see the release notes for the full version history.
Installation
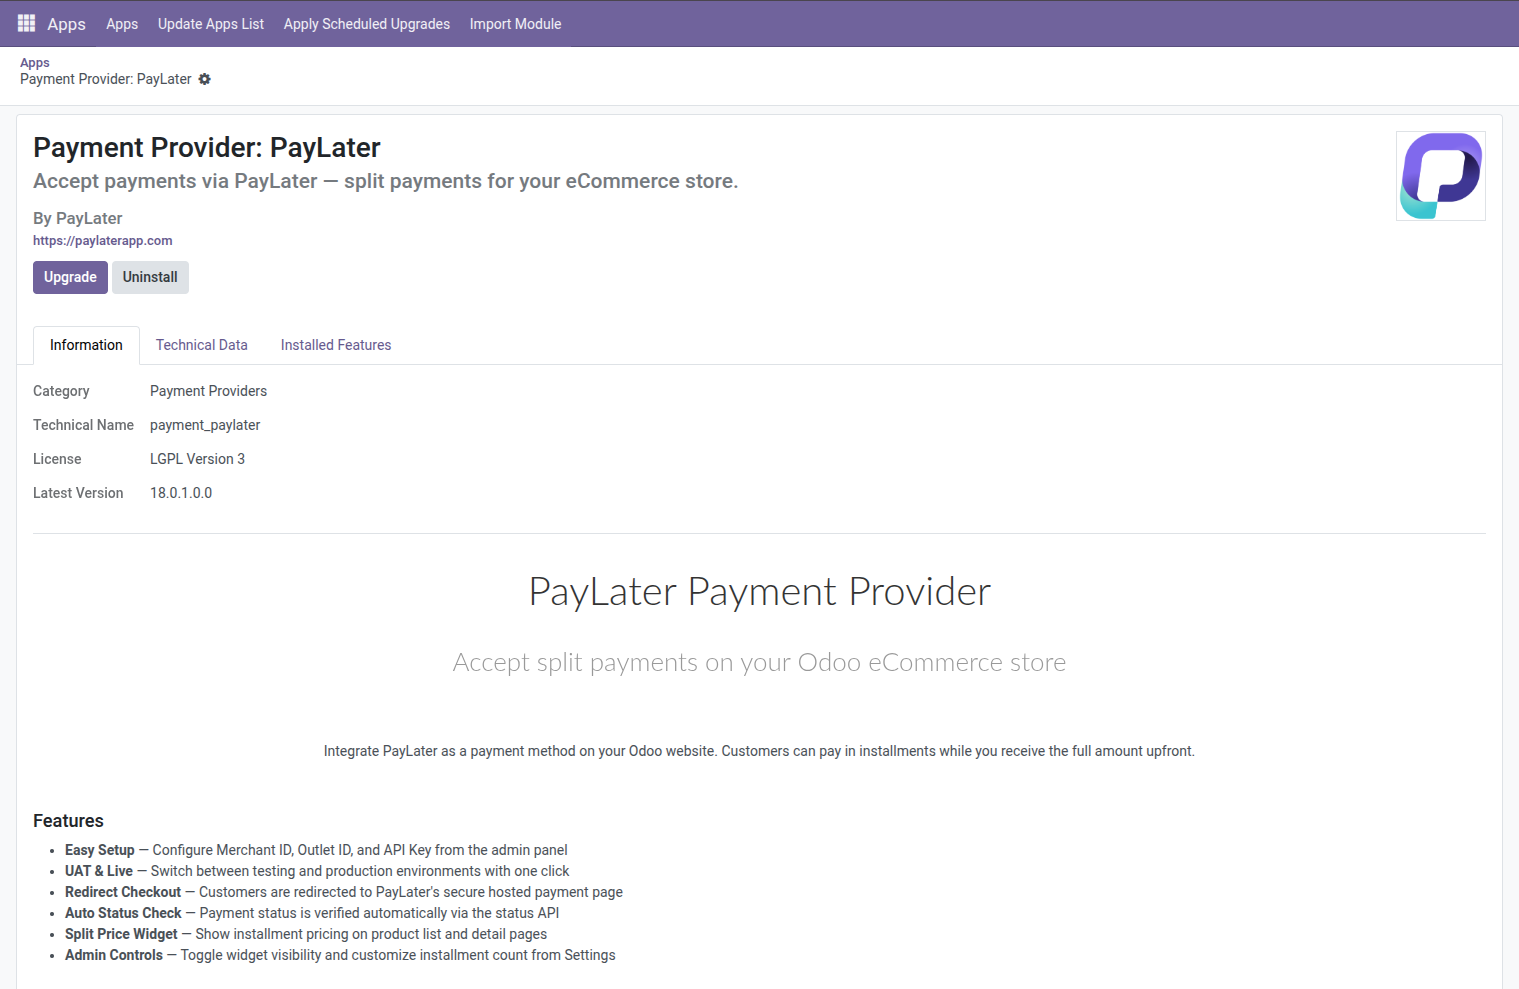
Paylater empowers merchants to offer the popular Buy Now, Pay Later (BNPL) payment option to their customers on their Odoo websites. This document guides you through the installation and setup process of the PayLater plugin.
Before you begin:
Ensure you have an Odoo website up and running.
Frontend Widgets:
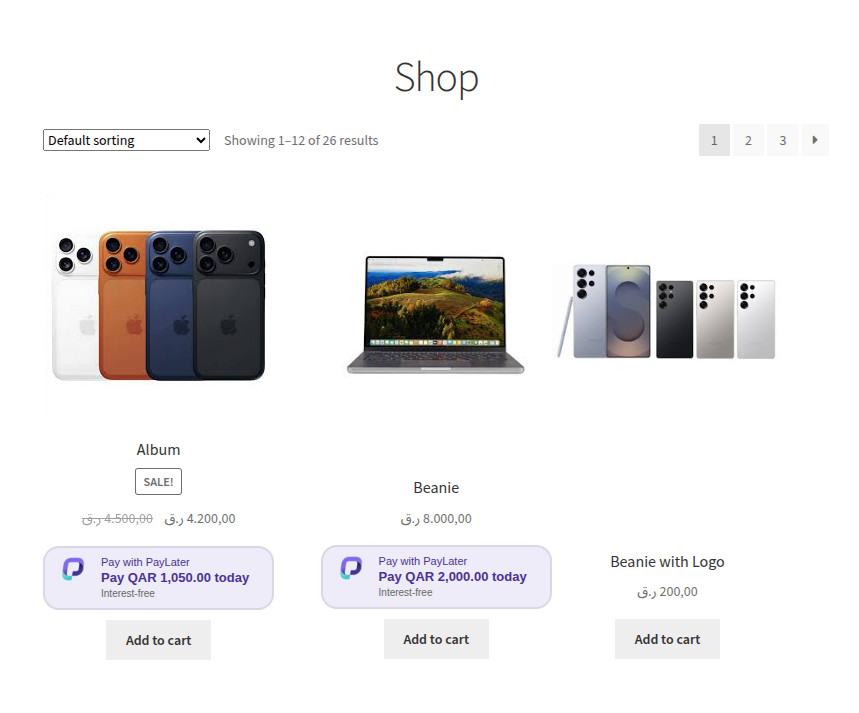
PLP Product List Page
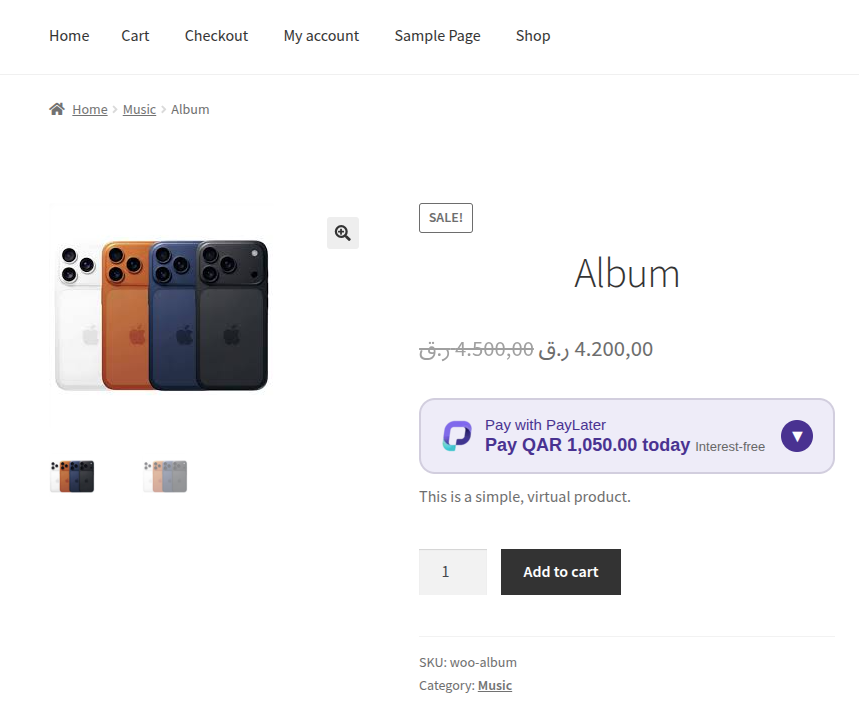
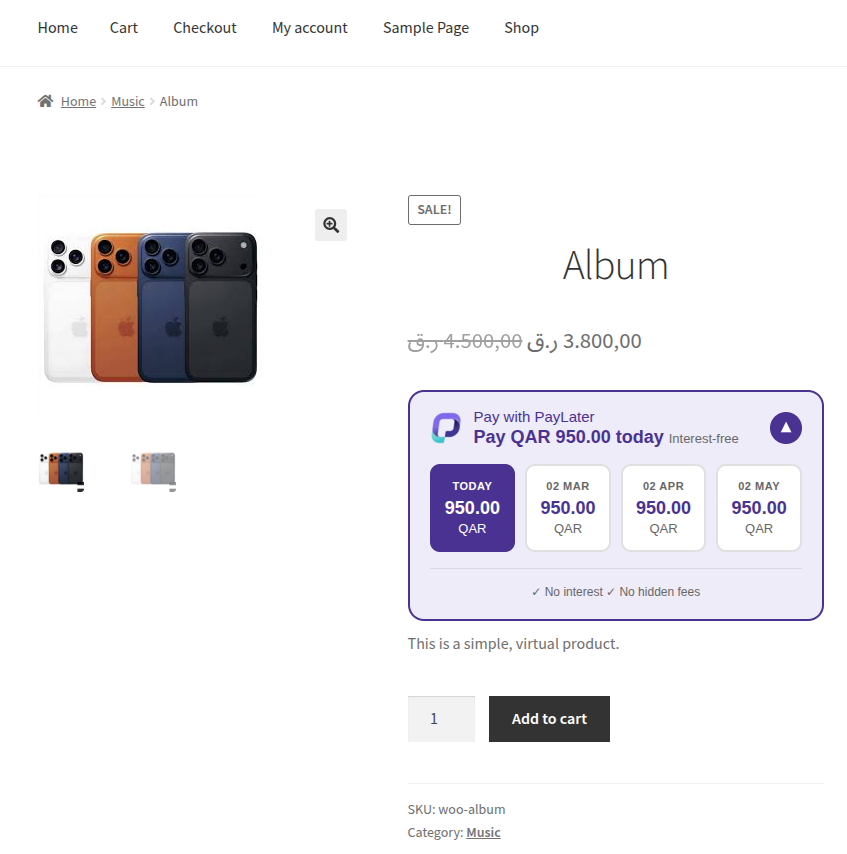
PDP Product Detail Page
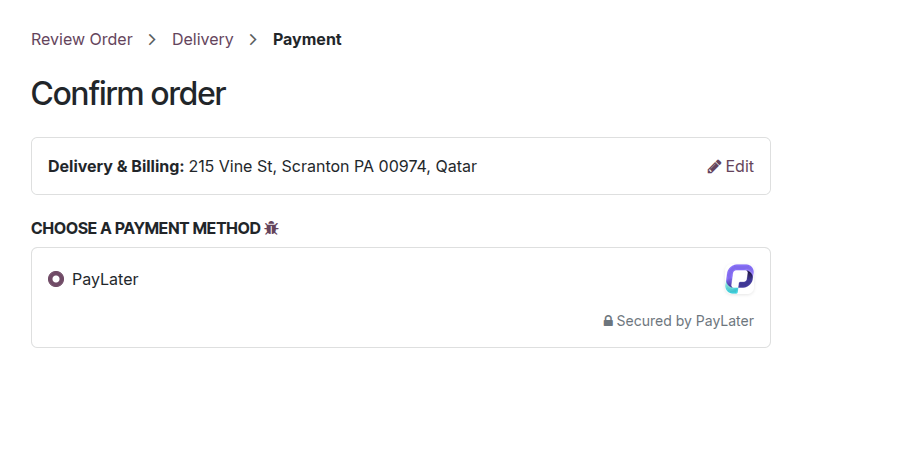
Checkout Page
Method: Manual Installation
The manual installation method involves downloading our plugin and uploading it to your web server via your favorite FTP application.
Configurations
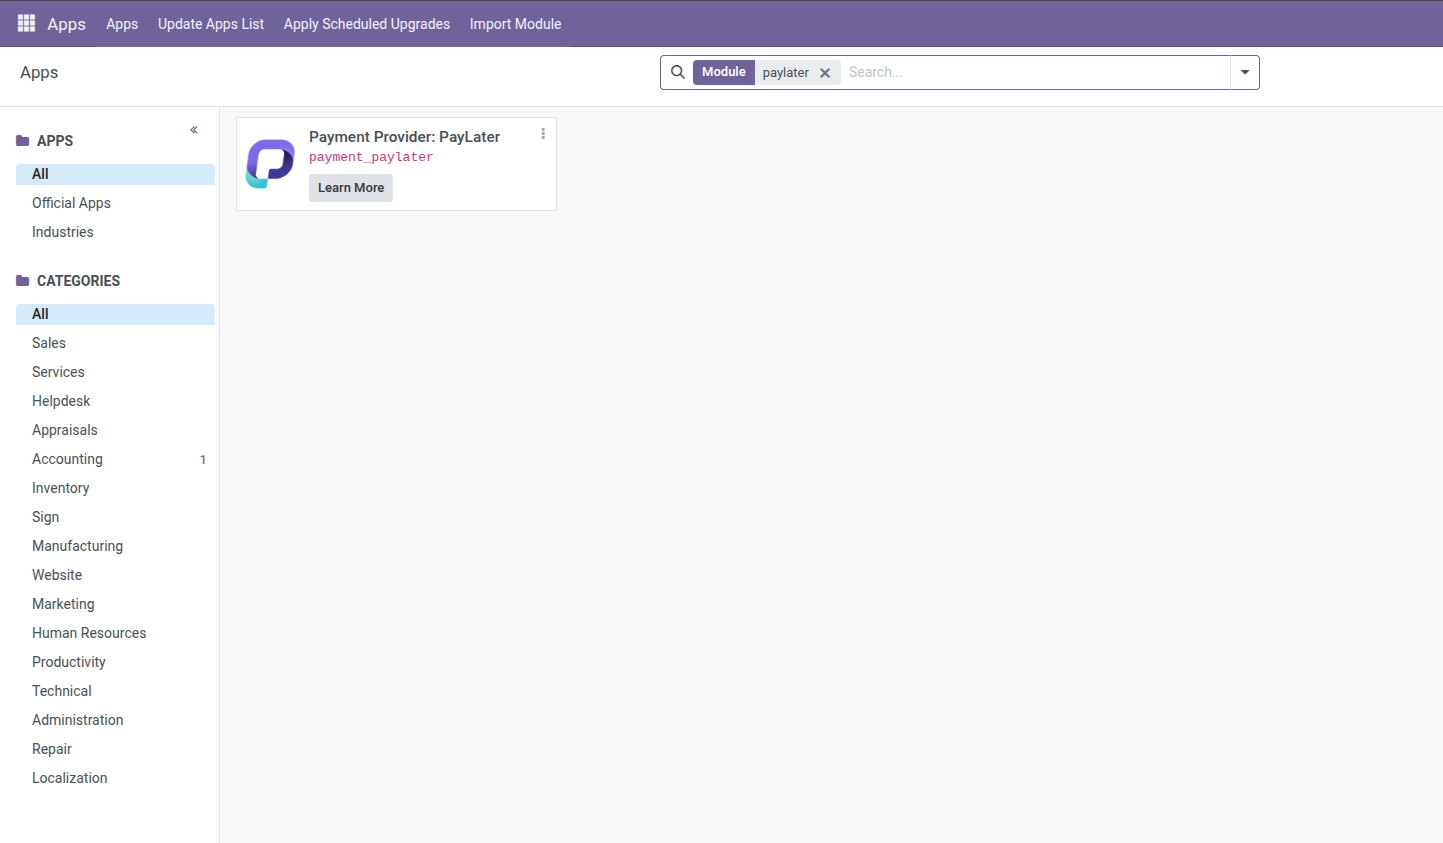
- Once activated, navigate to Odoo -> Apps -> Payments
- Locate PayLater in the list of available payment gateways and click on the Manage button.
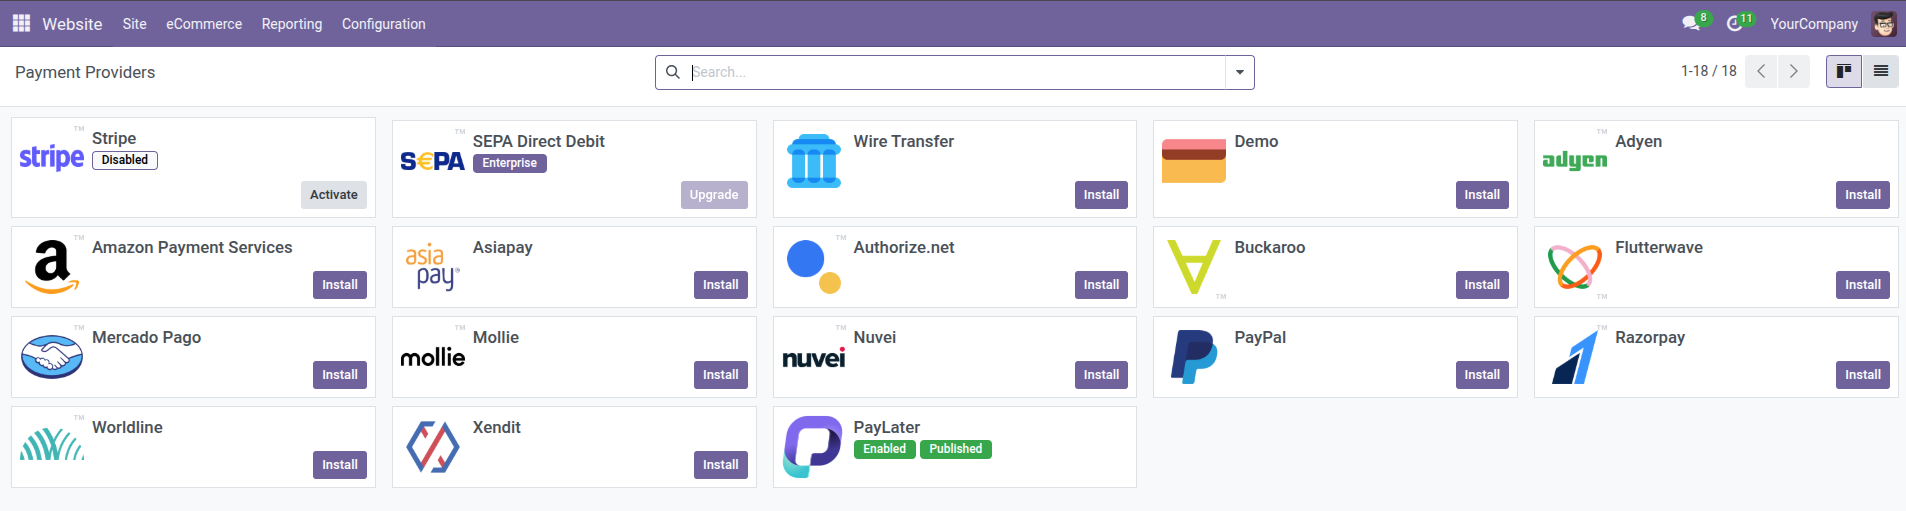
- Then, navigate to Odoo -> Webstite -> Configuration -> Payment Provider
- Enter your Client ID, Client Secret, and Outlet ID provided in the Test environment. These credentials are crucial for secure communication between your store and the PayLater platform.
- To get your Webhook Secret, share your webhook endpoint with the PayLater team. Enter the secret they provide here.
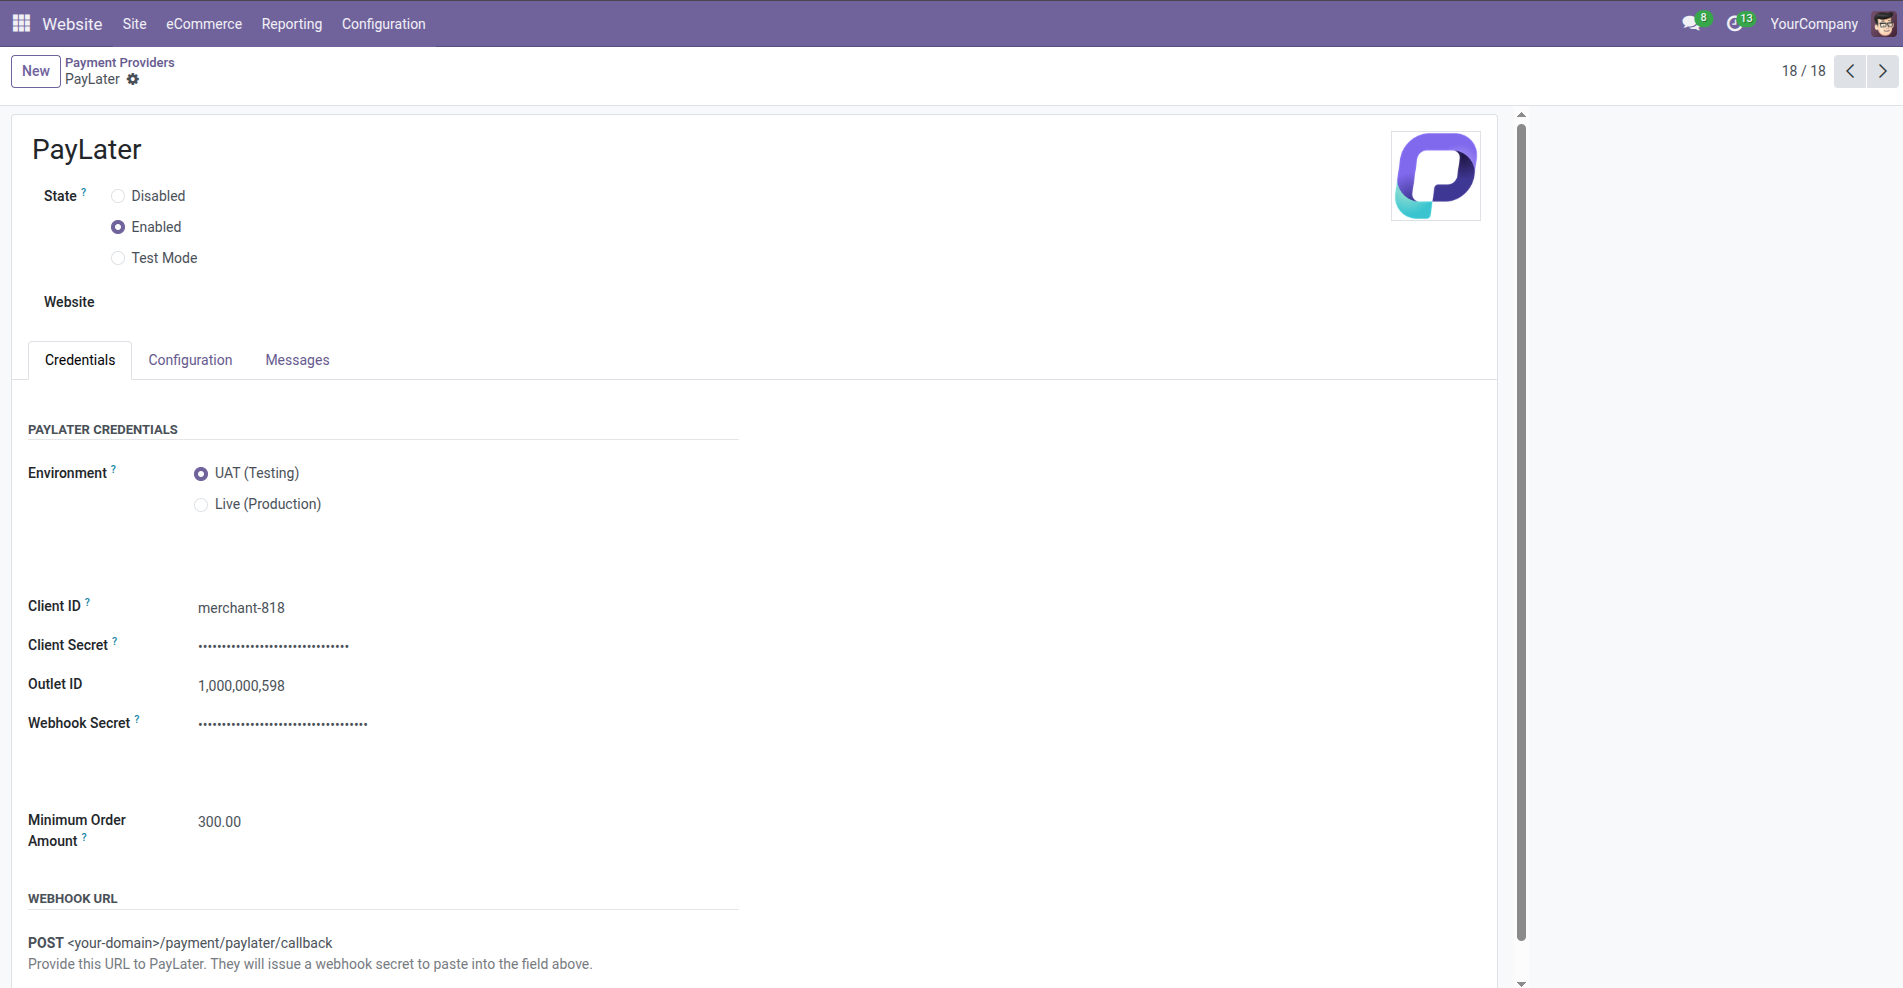
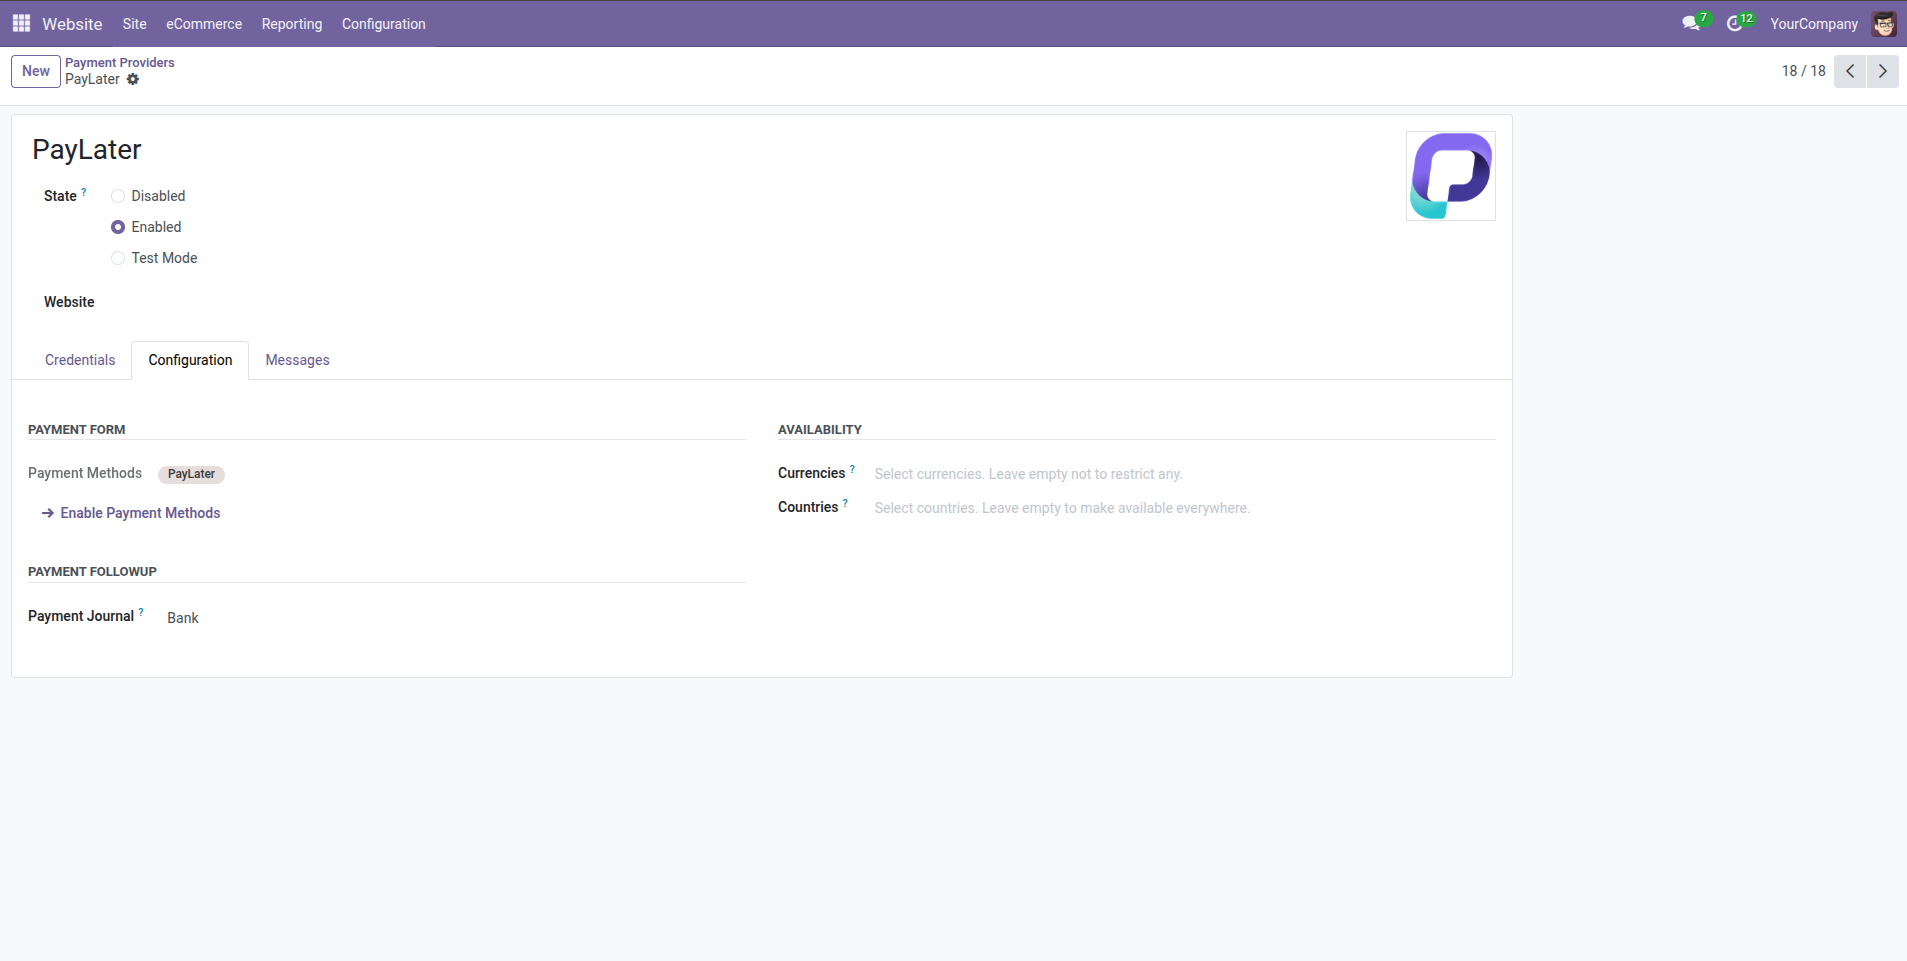
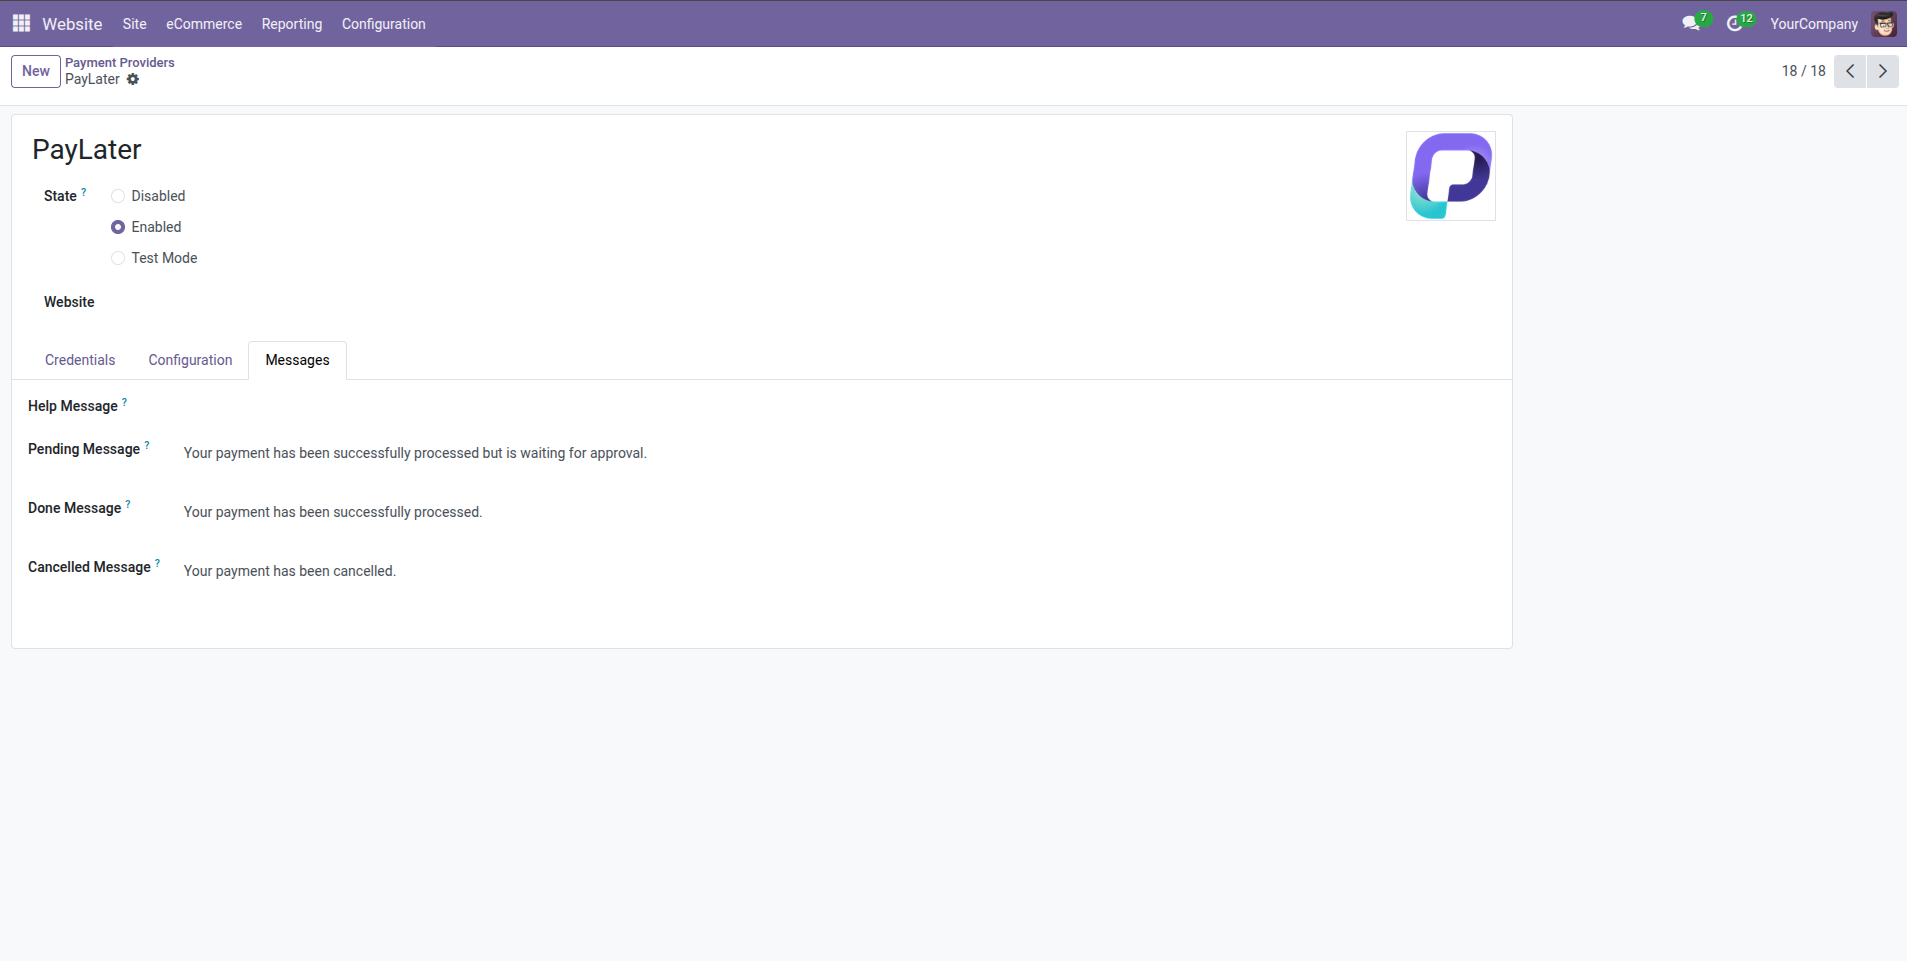
- For Widget settings, navigate to Setting -> Paylater
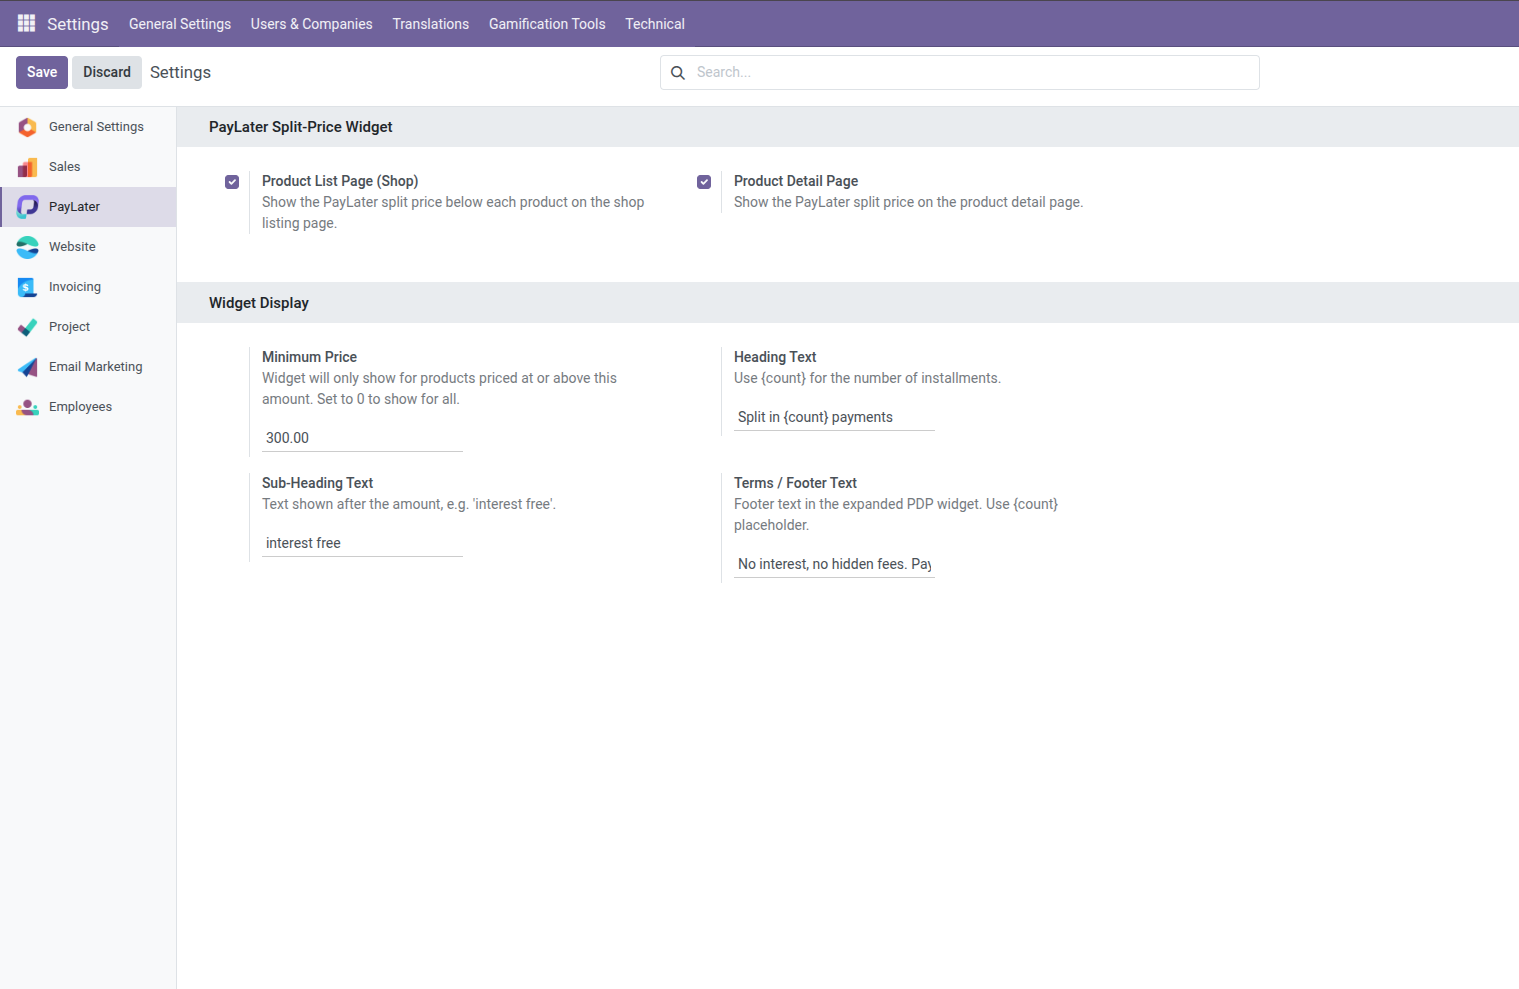
- Click Save Changes to complete the configuration
Testing
To ensure smooth functionality, it's recommended to test the PayLater payment option:
- Add a product to your cart and proceed to checkout
- During checkout, select PayLater as the payment method.
- You will be redirected to the secure PayLater platform to complete the BNPL payment process.
- Use test shopper account provided in the Test environment.
- Please use 300 QAR as the amount to test
Get your Client ID, Client Secret, and Outlet ID from your PayLater
account dashboard. For your Webhook Secret, share your webhook endpoint with the PayLater team.
For sandbox values and test shoppers, see the Test environment.