Magento
The PayLater plugin lets merchants integrate Buy Now, Pay Later (BNPL) into their Magento 2 stores, giving customers flexible payment options. This comprehensive guide walks you through the step-by-step installation and configuration process for a seamless integration.
Download plugin
Always install the latest version. Older releases are deprecated — see the release notes for the full version history.
Manual setup
- In your Magento 2 root directory, navigate to
[ROOT]/app/code/and create a folder calledPayLater/PayLaterpay. - Unzip the PayLater plugin into that folder.
- Enable PayLater by running the following command in your command-line interface:
php bin/magento module:enable PayLater_PayLaterpay- Then run the following commands sequentially:
php bin/magento setup:upgrade
php bin/magento setup:di:compile
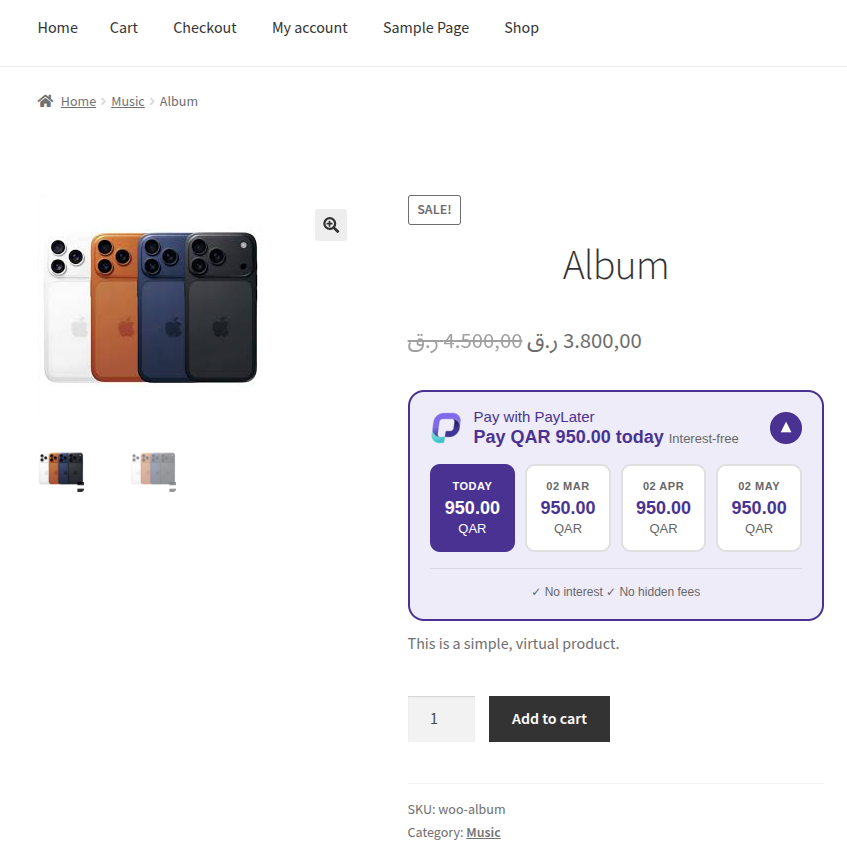
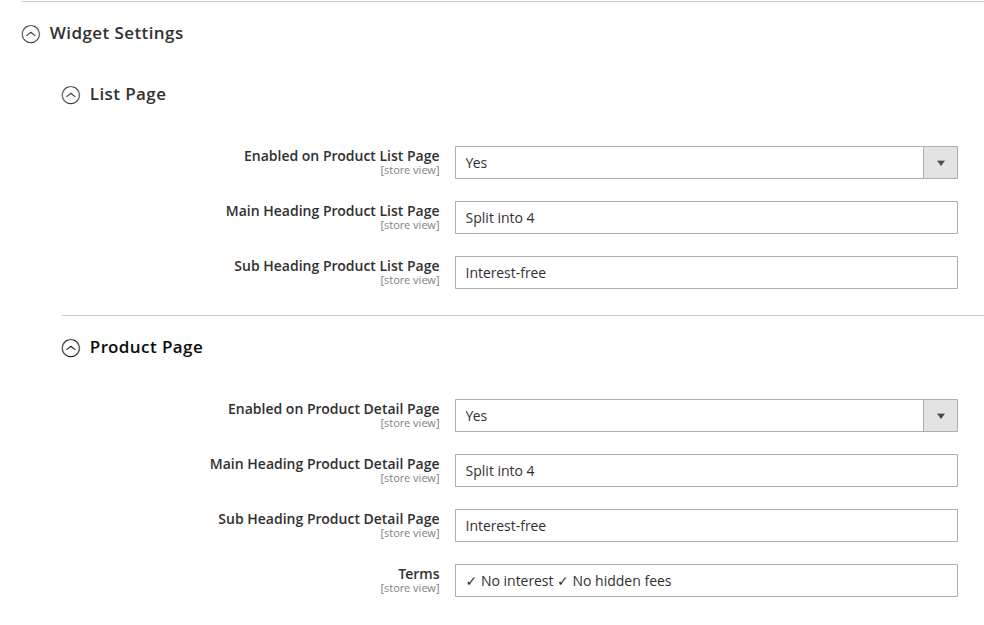
php bin/magento setup:static-content:deployFrontend widgets
PLP — Product List Page
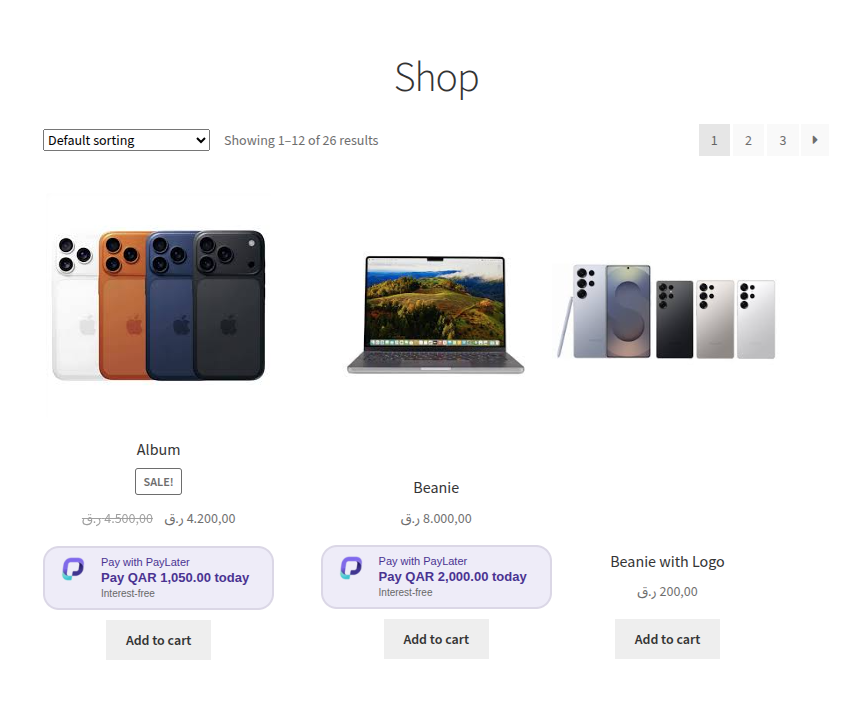
PDP — Product Detail Page

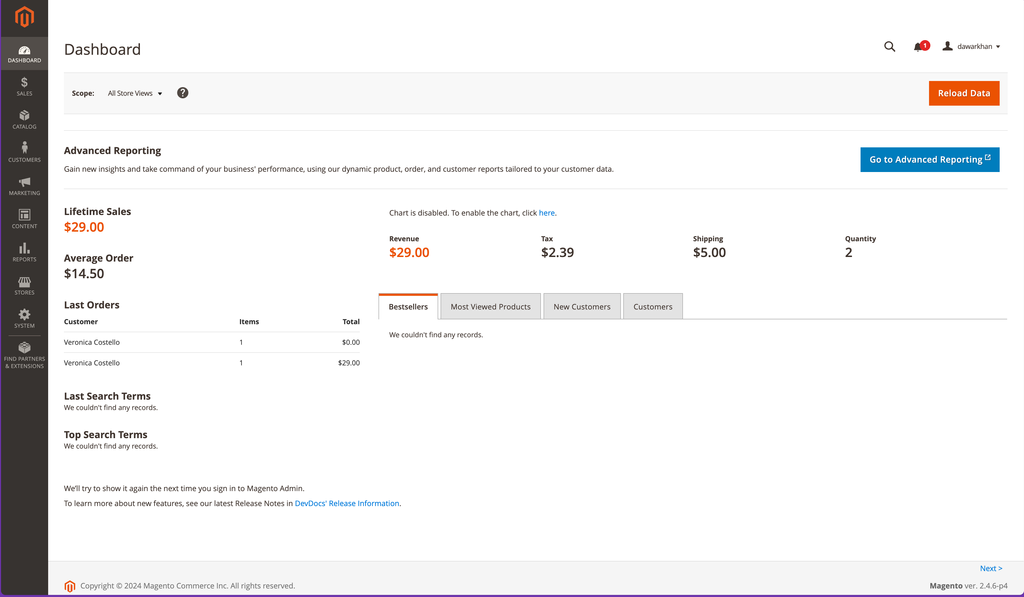
Log in to your Magento Admin Panel.
Admin configuration
Admin configuration is a crucial step in setting up the PayLater plugin in your Magento 2 store. In this section you'll access the Magento Admin Panel and navigate through specific settings to tailor the PayLater payment gateway to your preferences.
- Log in to your Magento Admin Panel.
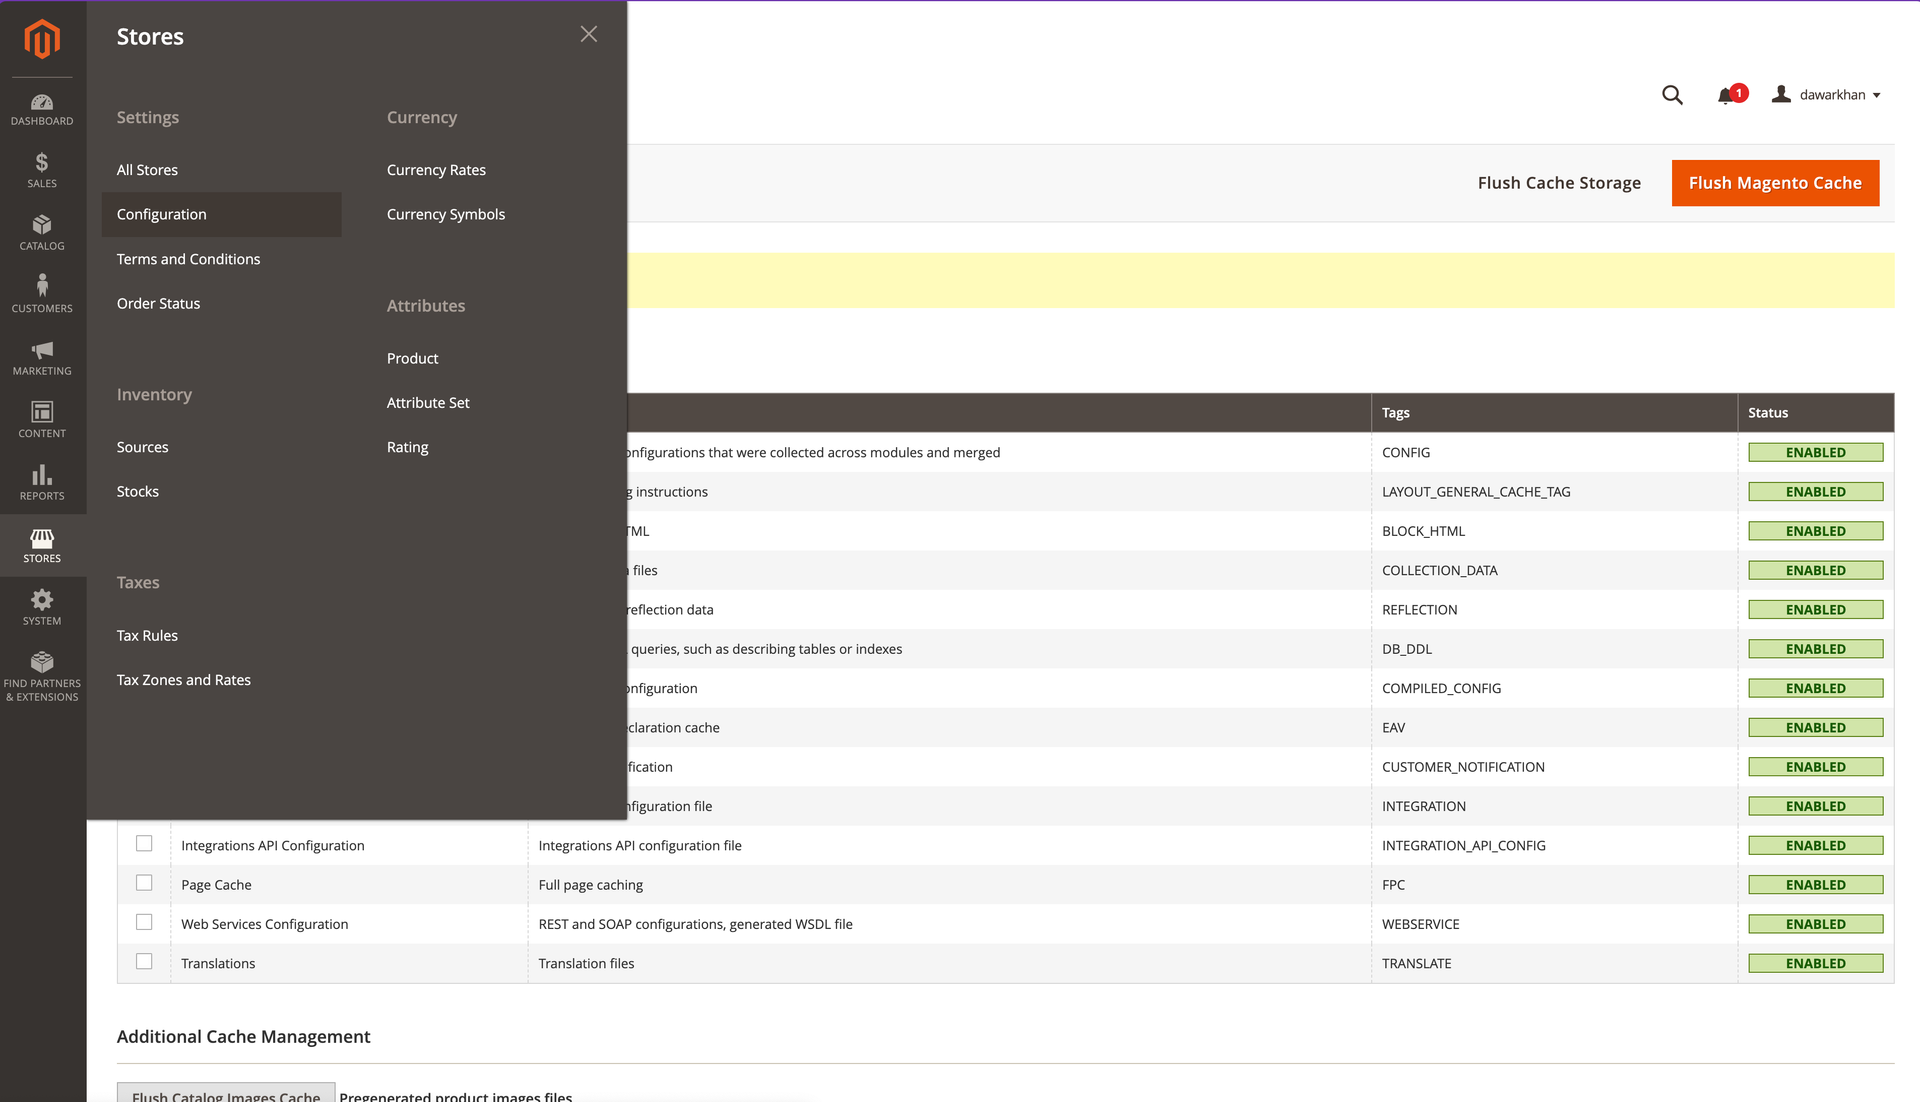
- Navigate to Stores → Configuration → Sales → Payment Methods and expand the Other Payment Methods tab. You will see the PayLater — Shop Now Pay Later option.
Payment settings
- Under Payment Settings, you may enable or disable this payment option.
- Set the Payment Mode to "Live" for the live environment and "Sandbox" for testing.
- Enter your Client ID, Client Secret, and Outlet ID here. These credentials are crucial for secure communication between your store and the PayLater platform.
- To get your Webhook Secret, share your webhook endpoint with the PayLater team. Enter the secret they provide here.
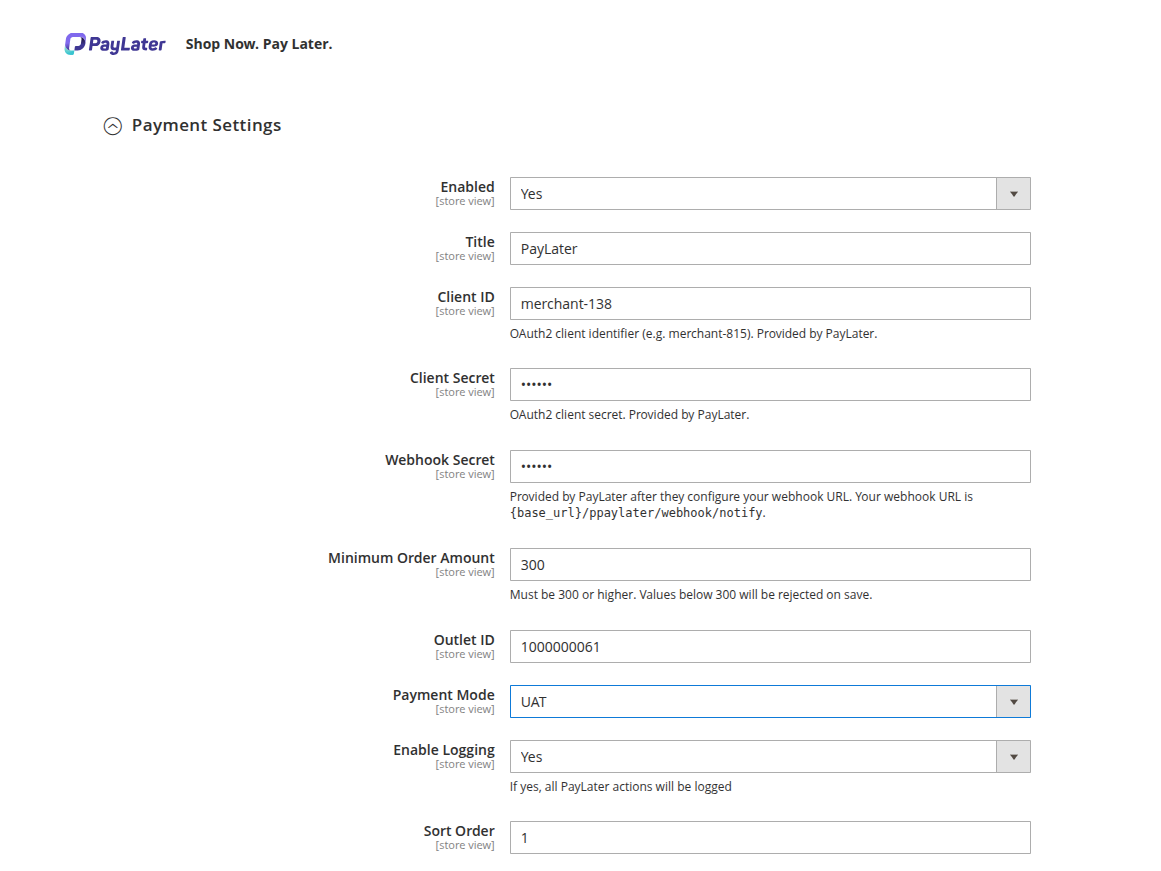
- Save the configuration and clear the cache.
Testing
To ensure smooth functionality, it's recommended to test the PayLater payment option:
- Add a product to your cart and proceed to checkout.
- During checkout, select PayLater as the payment method.
- You will be redirected to the secure PayLater platform to complete the BNPL payment process.
- Use a test shopper account from the Test environment.
- Please use 300 QAR as the amount to test.
Get your Client ID, Client Secret, and Outlet ID from your PayLater
account dashboard. For your Webhook Secret, share your webhook endpoint with the PayLater team.
For sandbox values and test shoppers, see the Test environment.